Last time we brought you the “Purchase & Preparation” part, and this time we finally deliver the assembly work and installation.
Unpacking
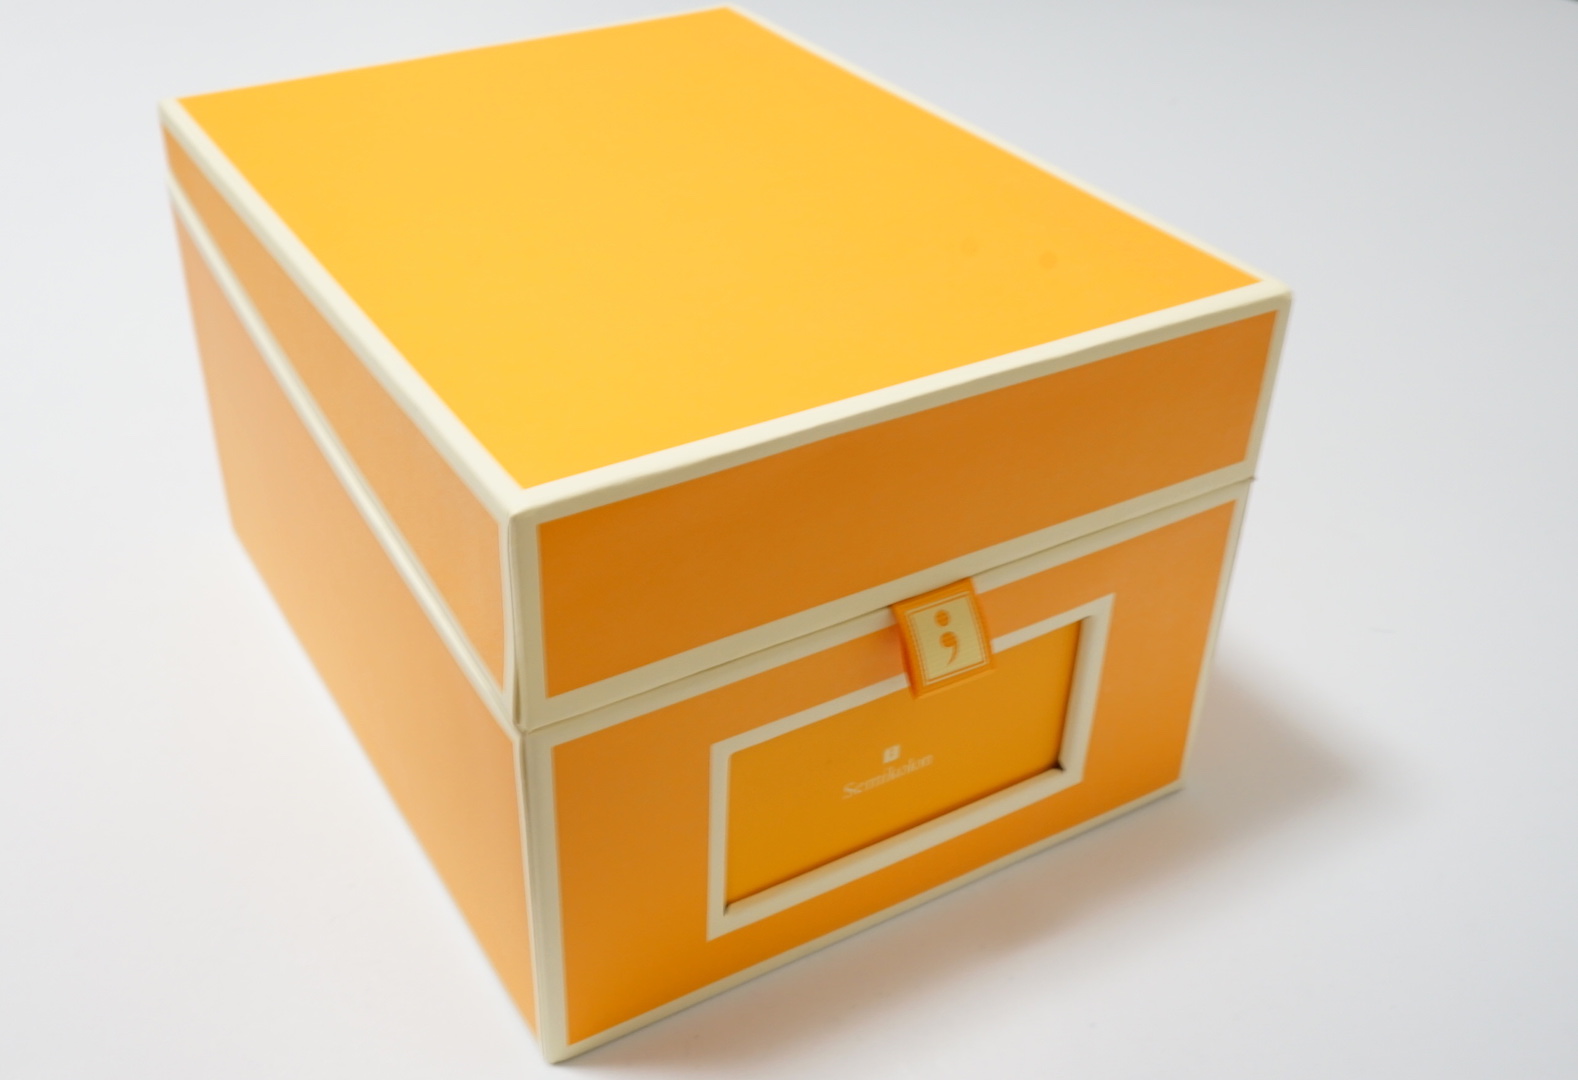
It arrives one week to ten days after ordering. Considering all the effort that goes into the painting and cutting, that is quite a fast arrival. The item arrives strictly packed, so even opening it takes a fair bit of effort.
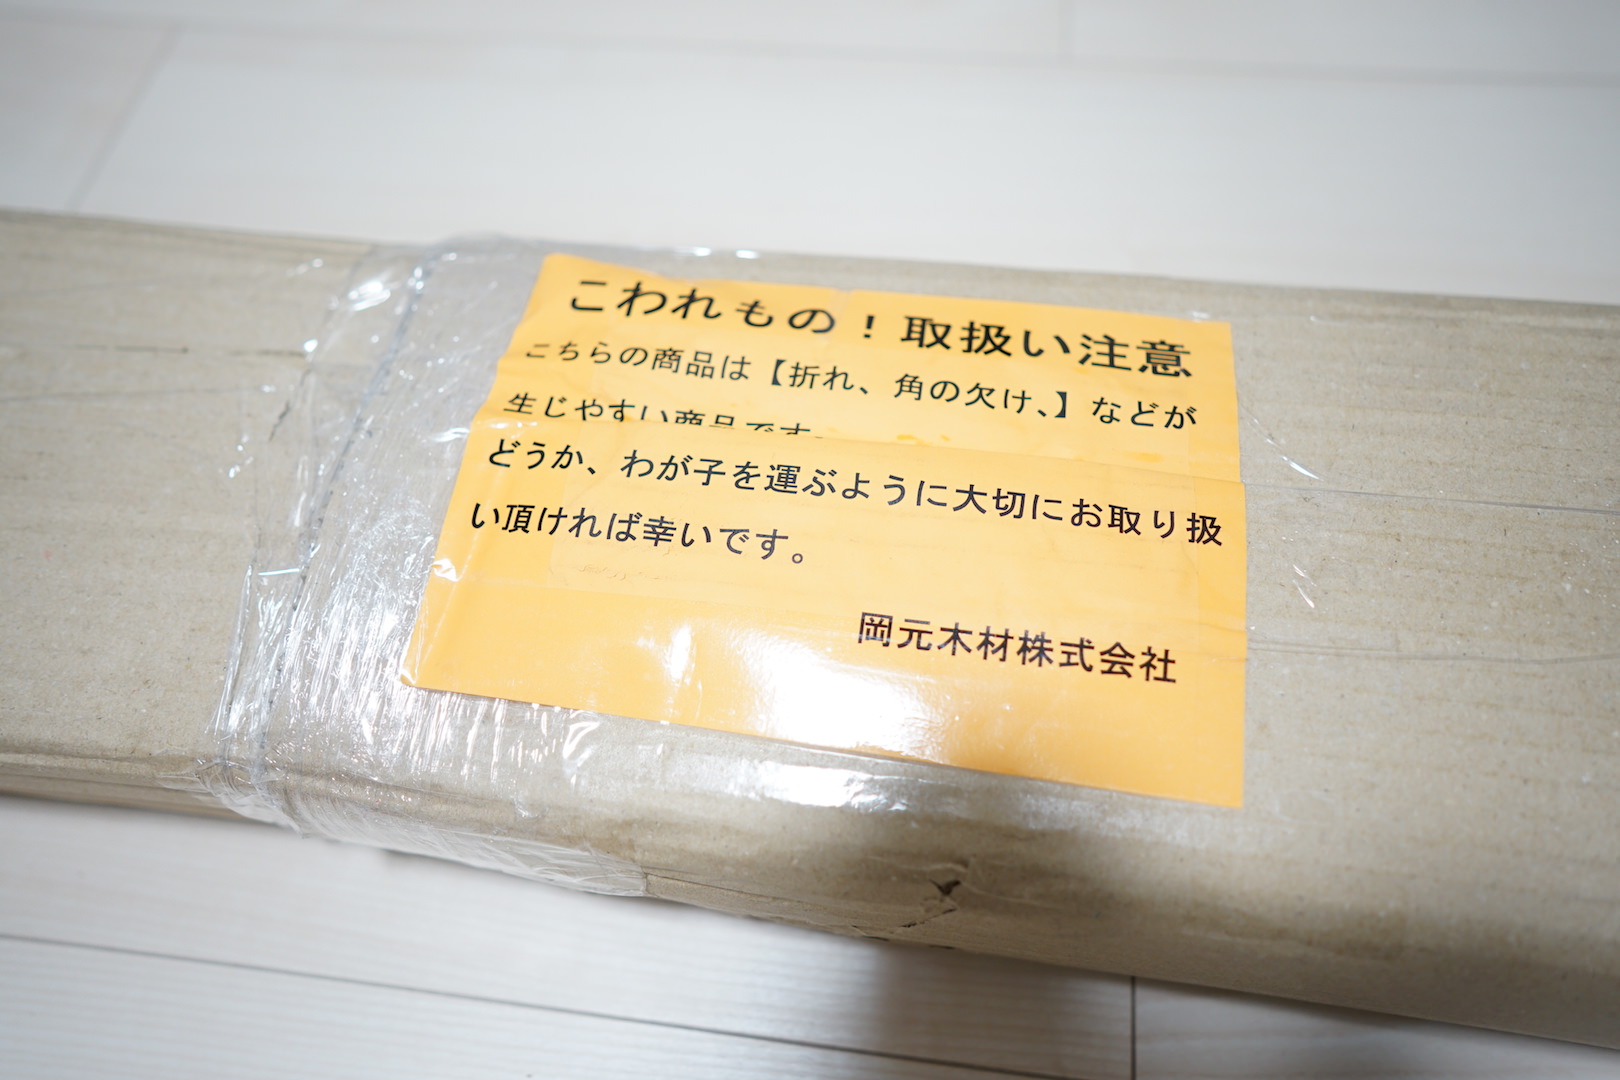
As I mentioned in the previous article, what you want to be careful about when peeling off the packaging is to use “scissors.” Never use a utility knife. That is because with a utility knife, there is a high chance you will end up damaging the wood and such.
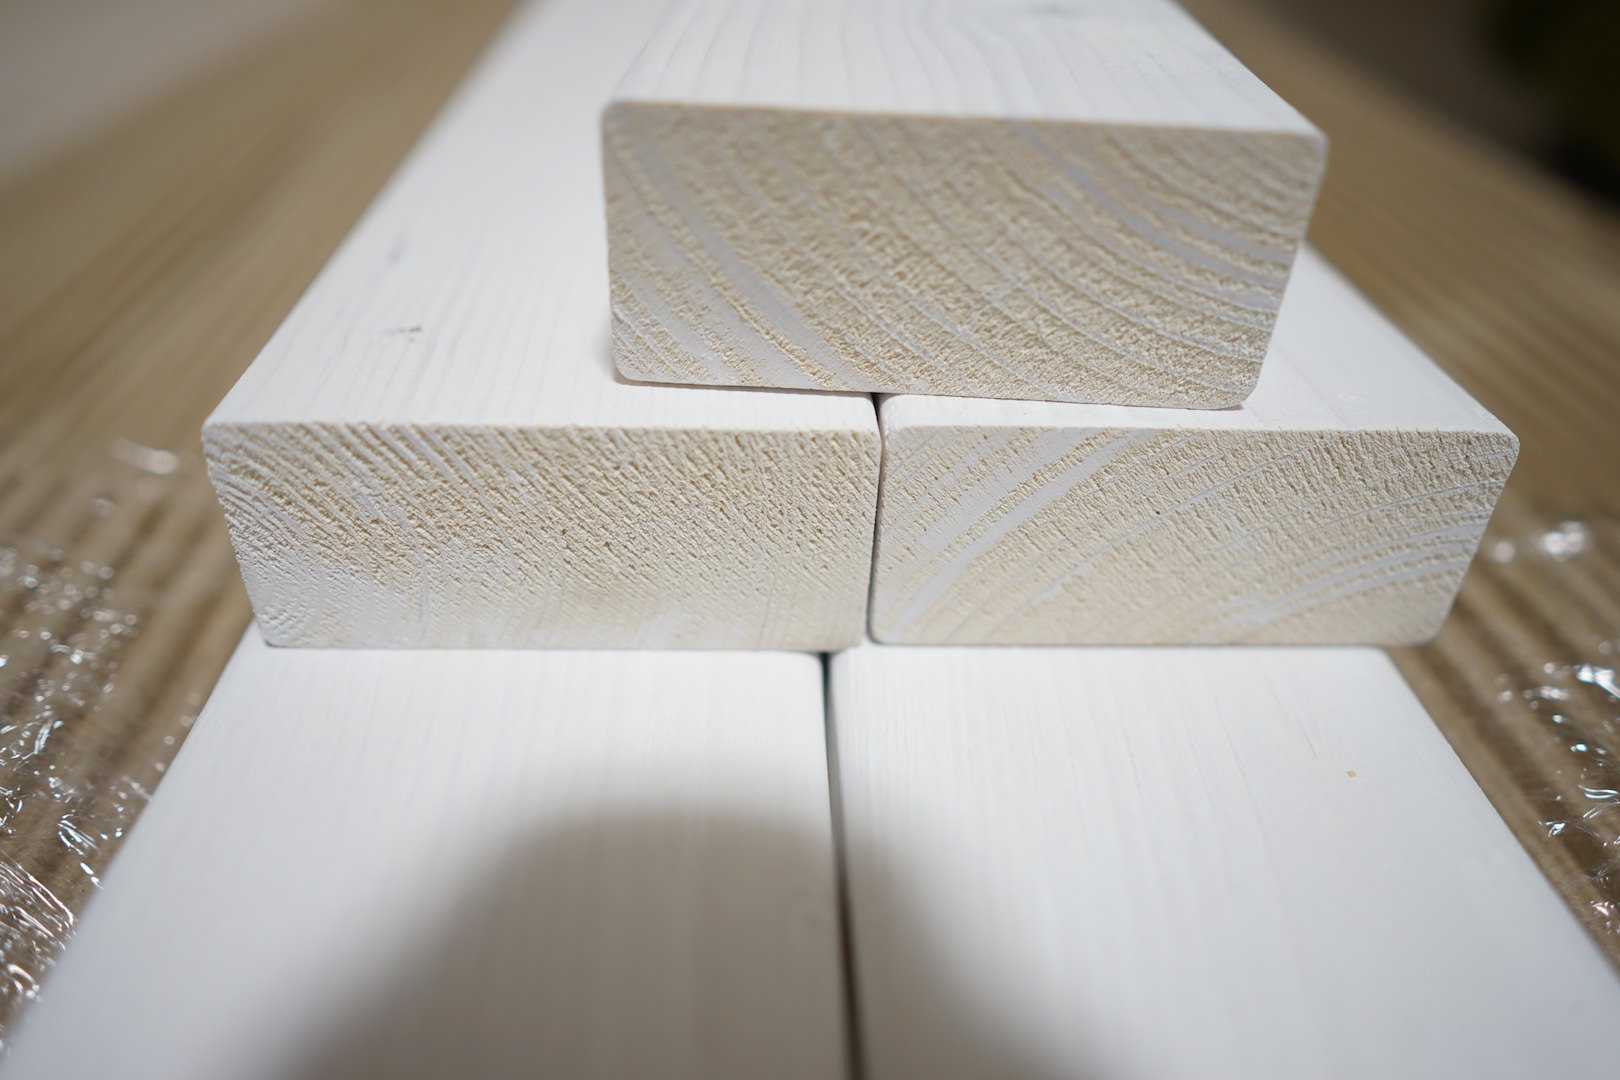
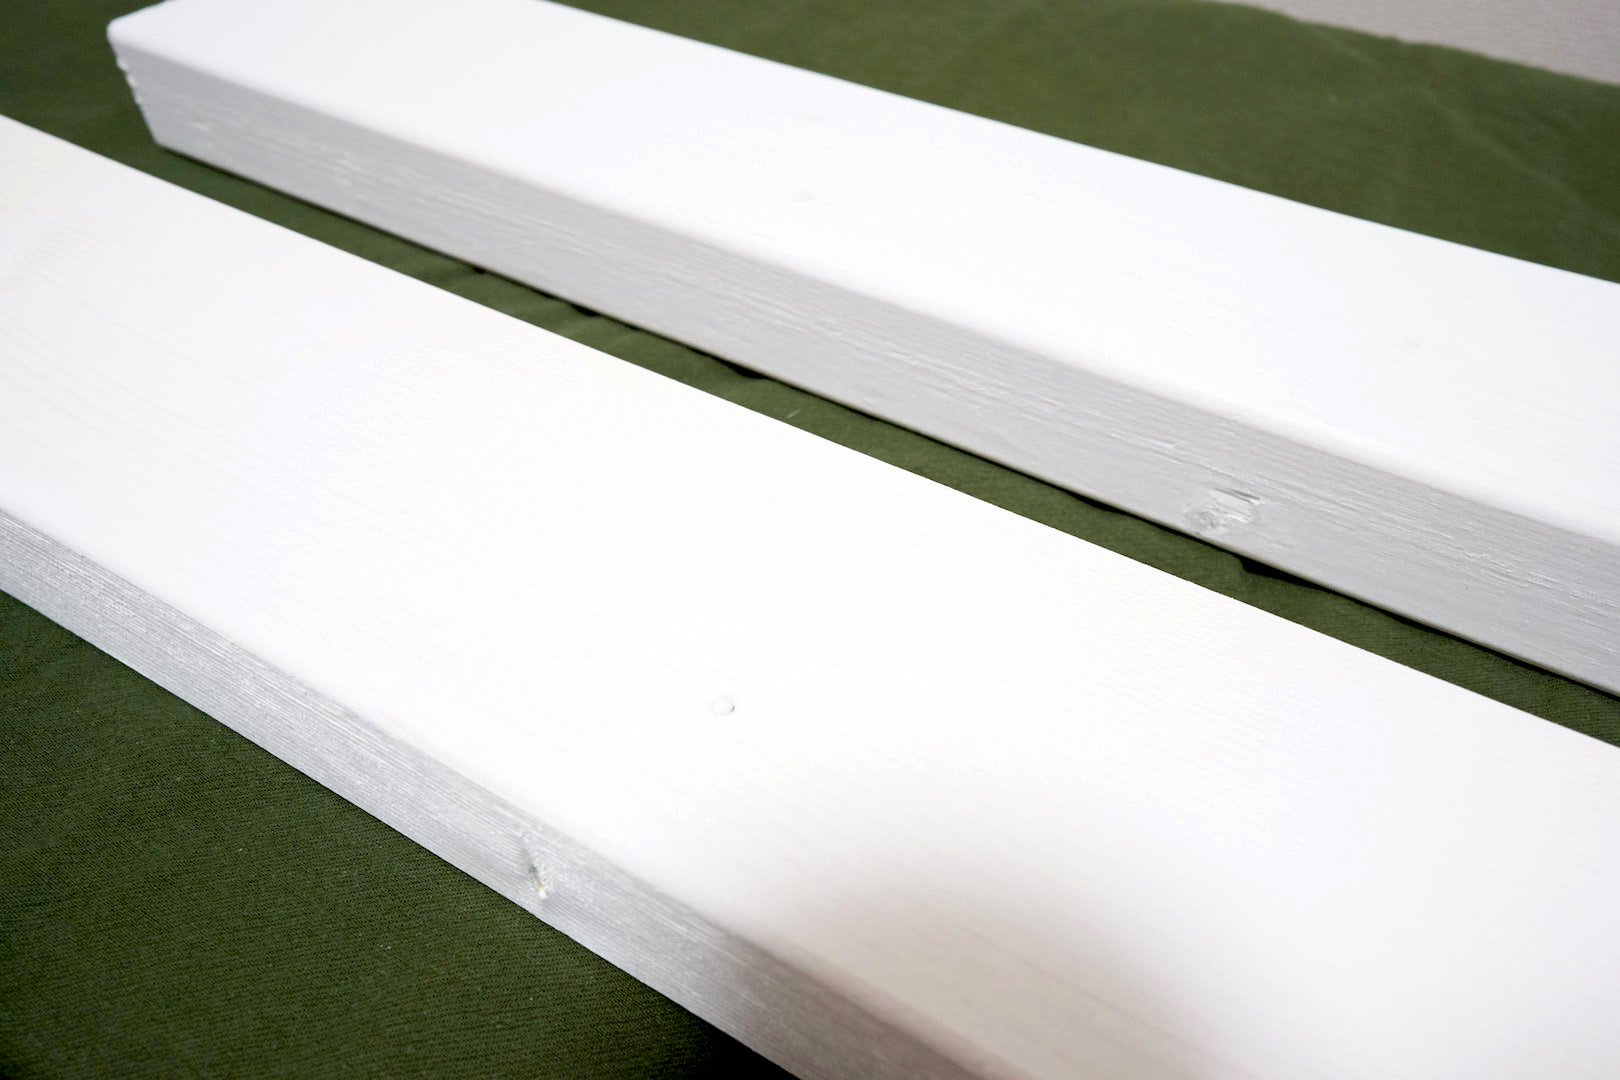
The wood is beautifully painted, and you can see the traces of high-quality work.
Temporary Placement
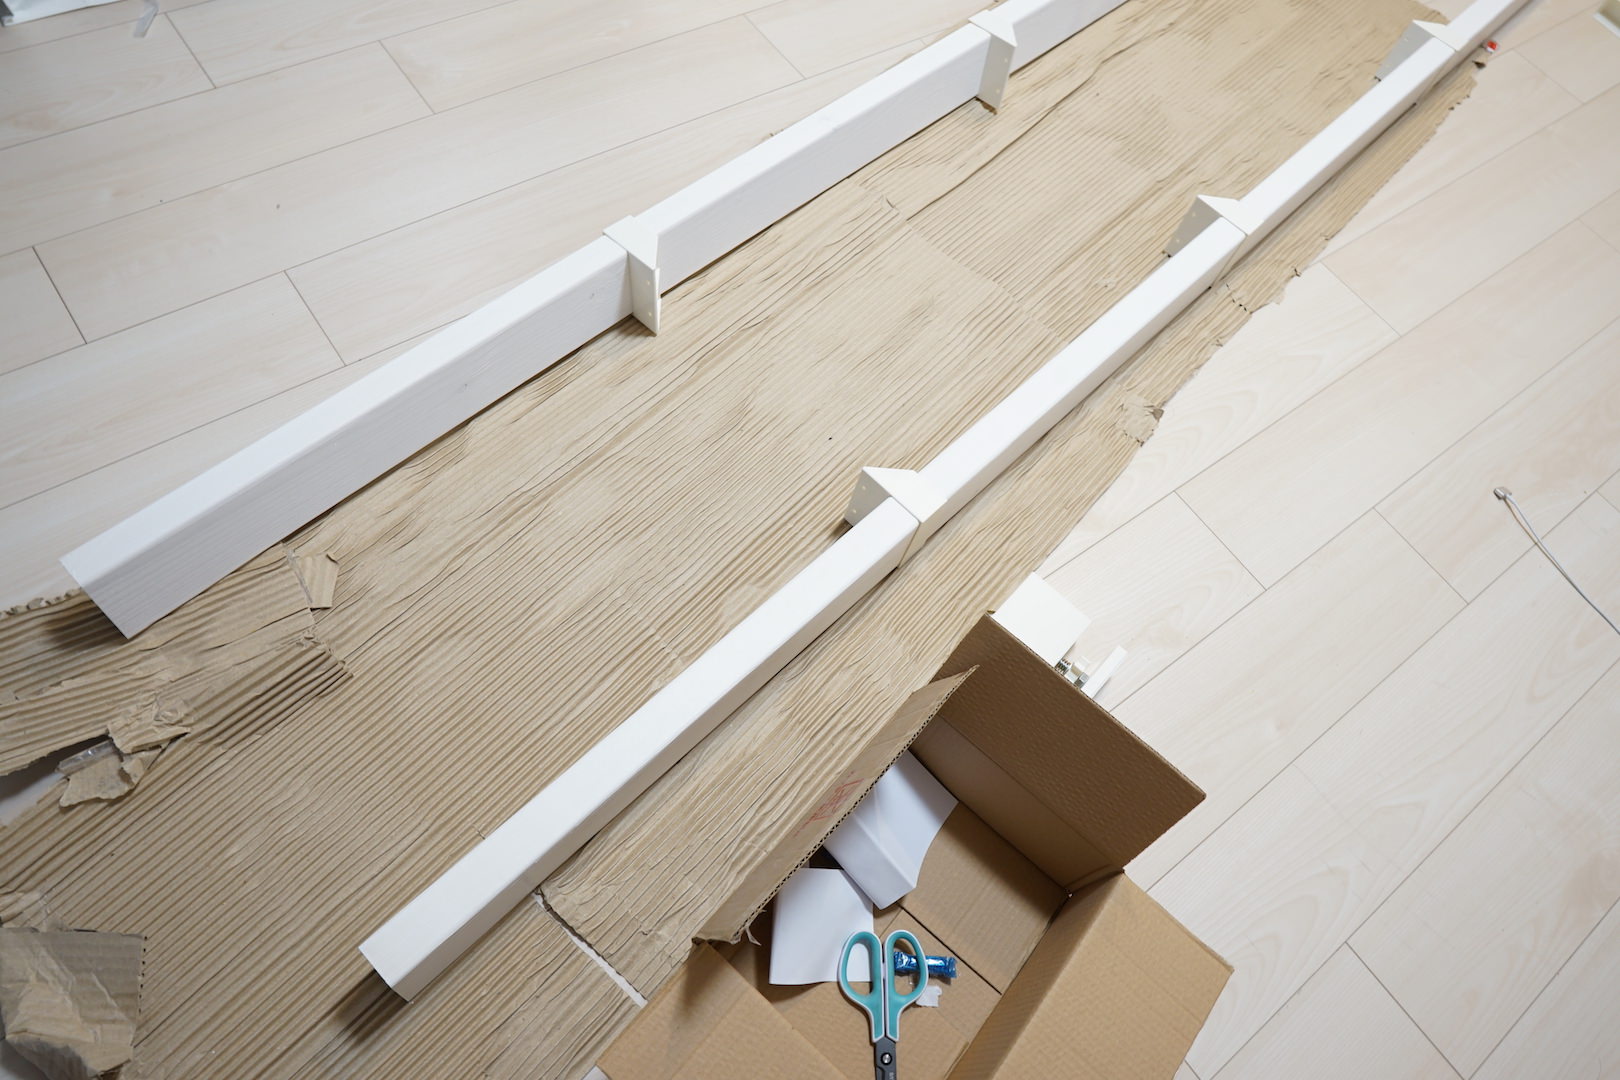
Before actually attaching it, I wanted to check the mounting position of the shelf, so I temporarily fitted the LABRICO shelf brackets, stood it up at the installation spot, and checked a rough image (this is a bit of extra work, so those who find it a hassle or who already have their sizes decided can skip it).
Actually trying a temporary placement lets you visualize all sorts of things — the balance when installed, the harmony with the room, and so on — which I think is good.
Attaching the Screws
Now, from here we get down to the concrete work.
Basically, there are three tasks this time.
- Fix the shelf bracket and shelf together with screws → easy
- Attach the shelf to the post → takes a little strength
- Set it up in the position you want → easy (for women, doing it with two people is reassuring)
1. Fix the shelf bracket and shelf together with screws
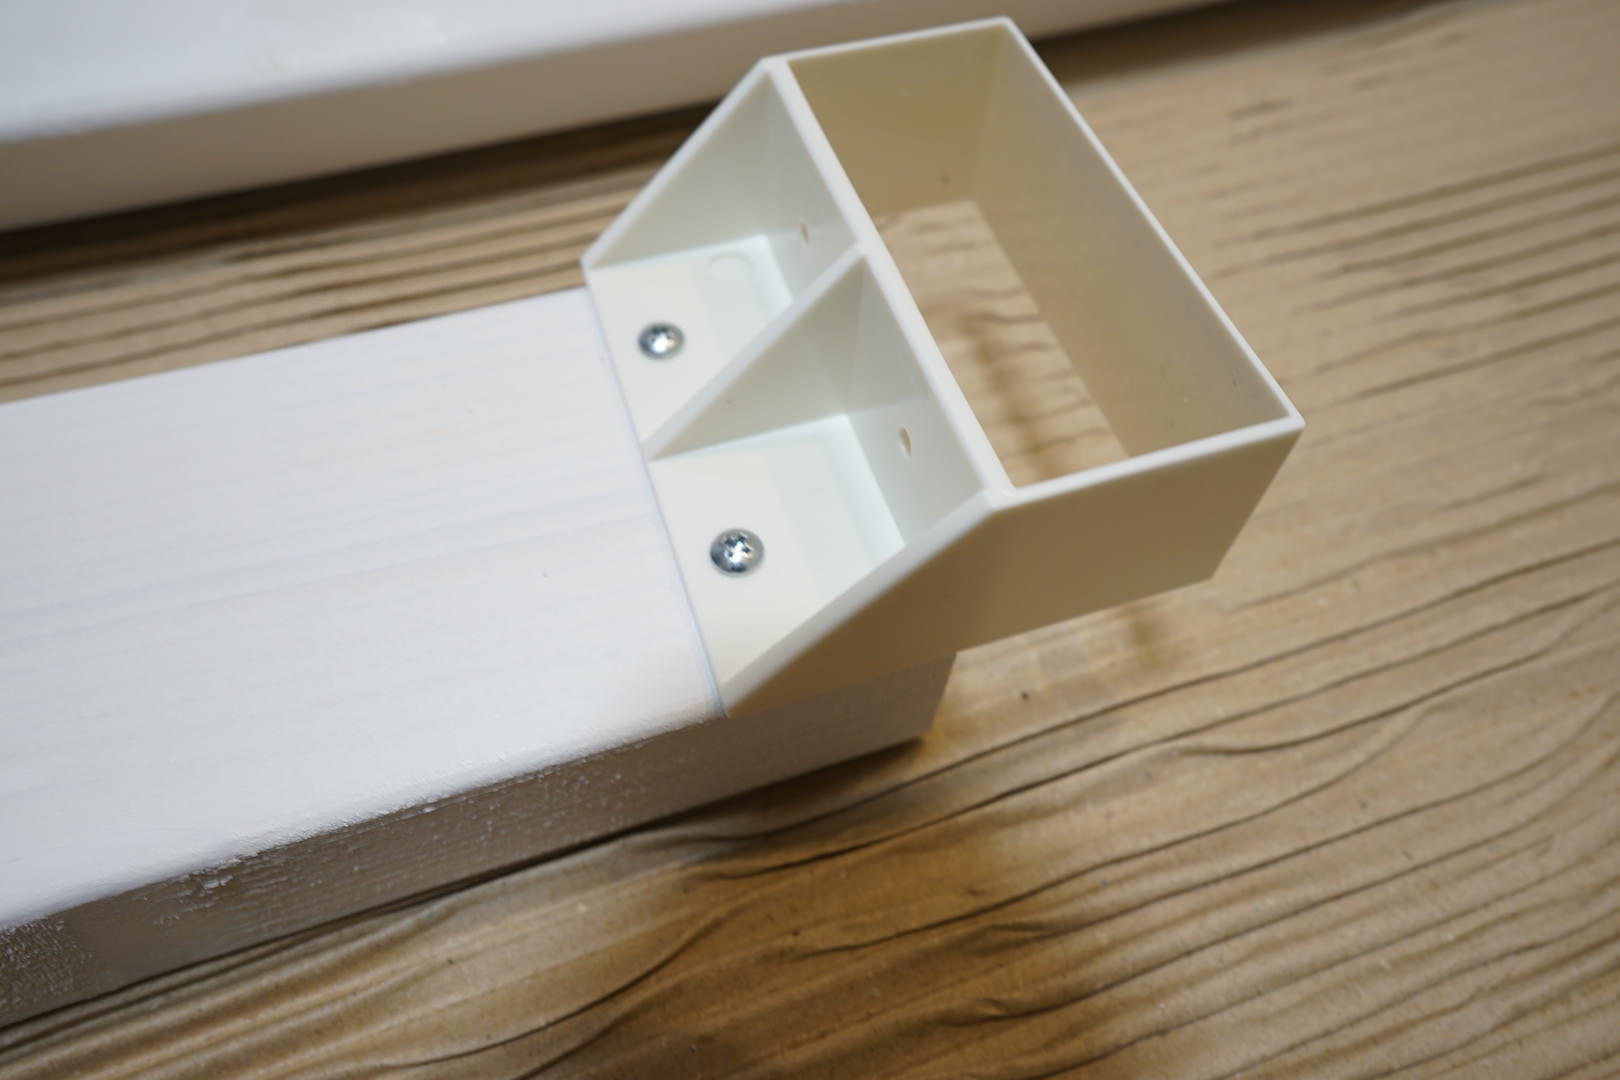
Using a screwdriver, fix the LABRICO to the shelf’s wood with screws.
* If you fitted the shelf bracket during the temporary placement described above, please remove it before working.
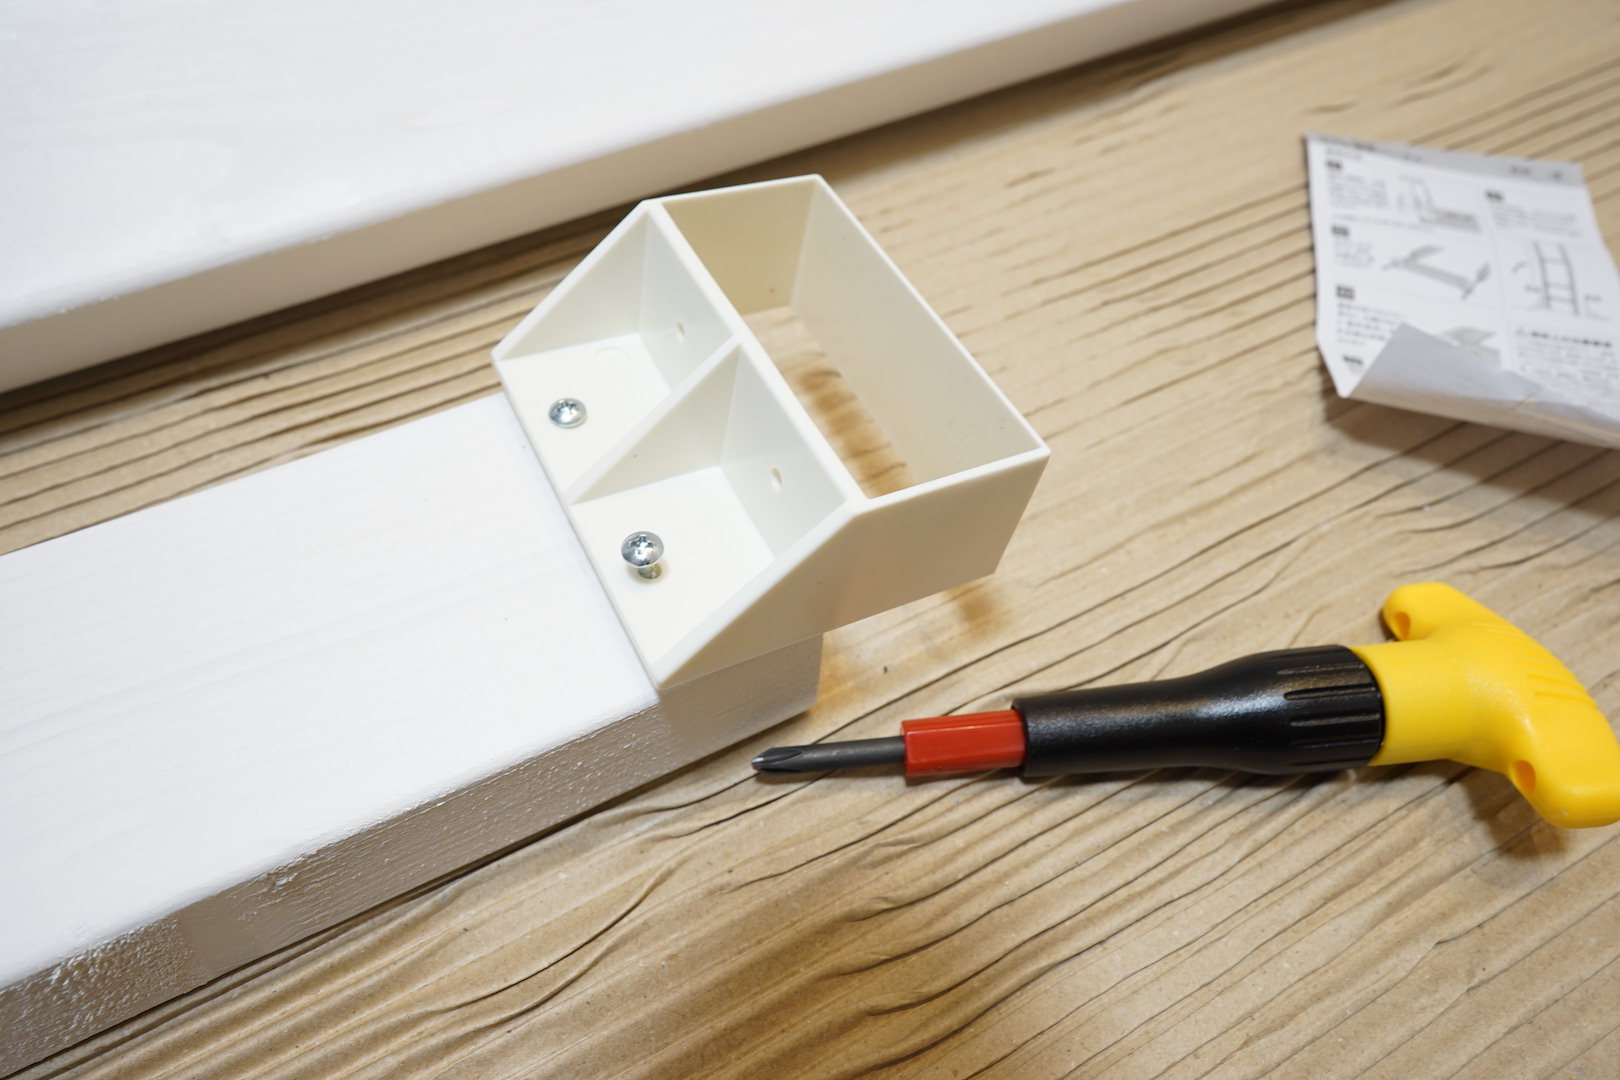
So that it settles into the right position, be careful about where you drive the screws and insert them slowly. There is no need to make a hole in advance before inserting the screws. Rest assured, they go in smoothly.
2. Attach the shelf to the post
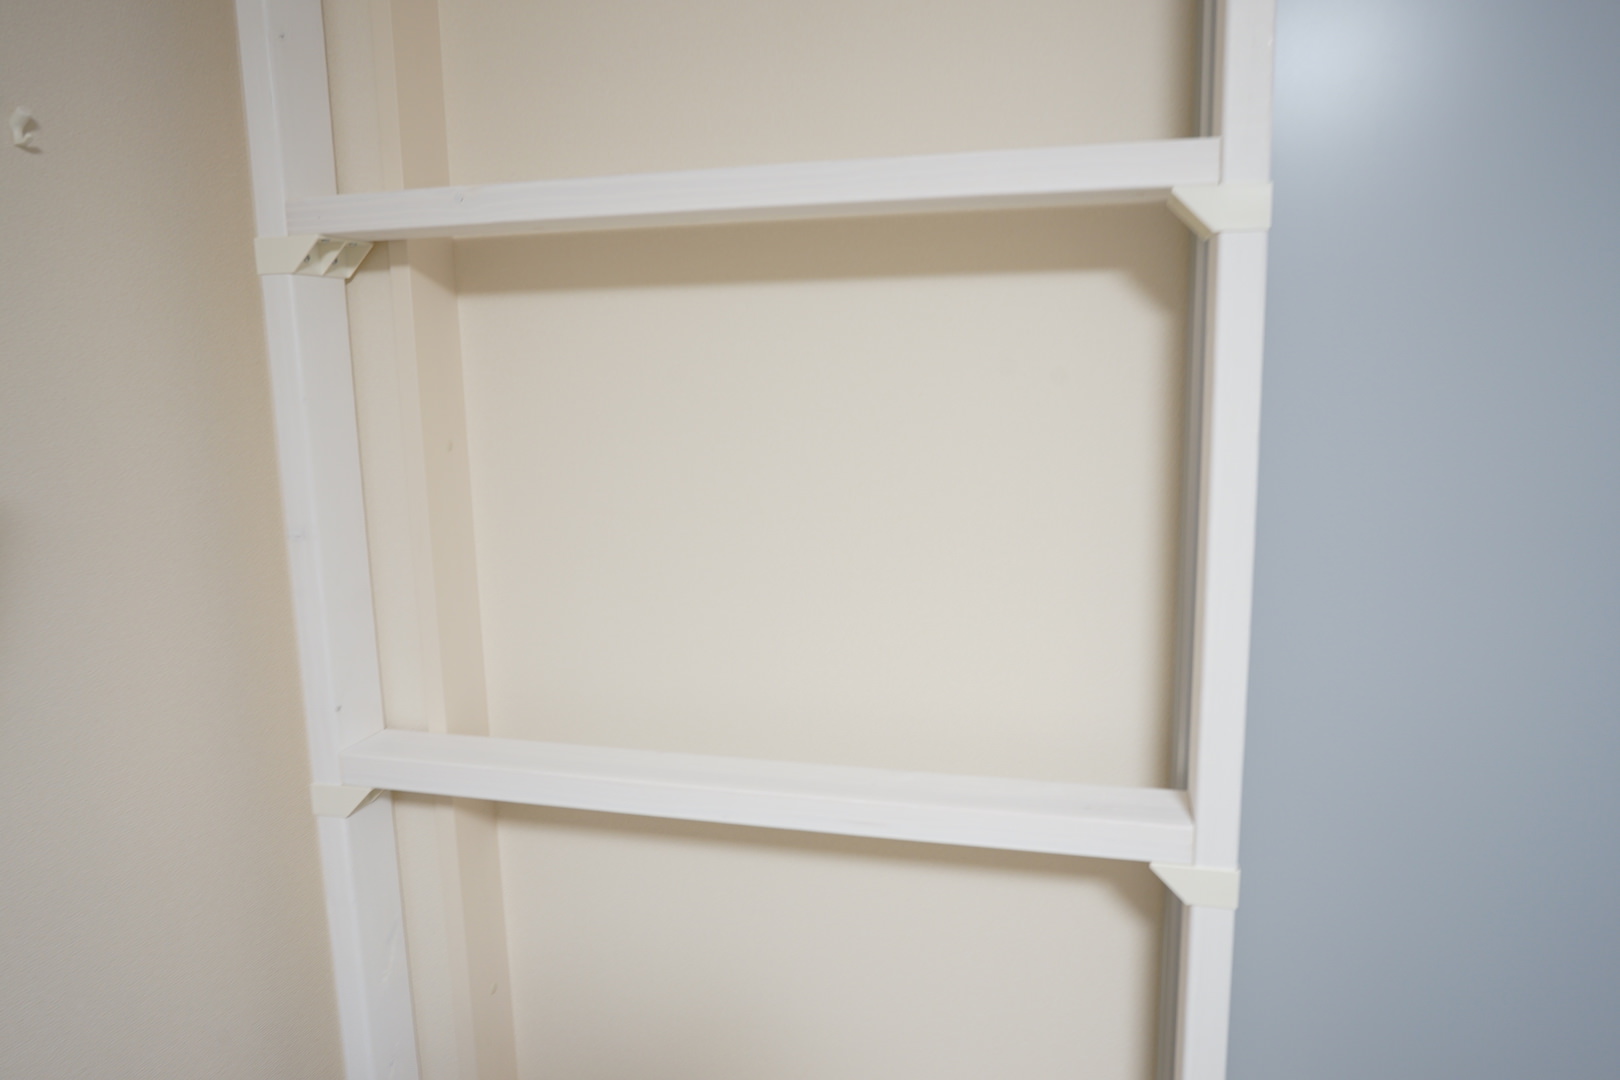
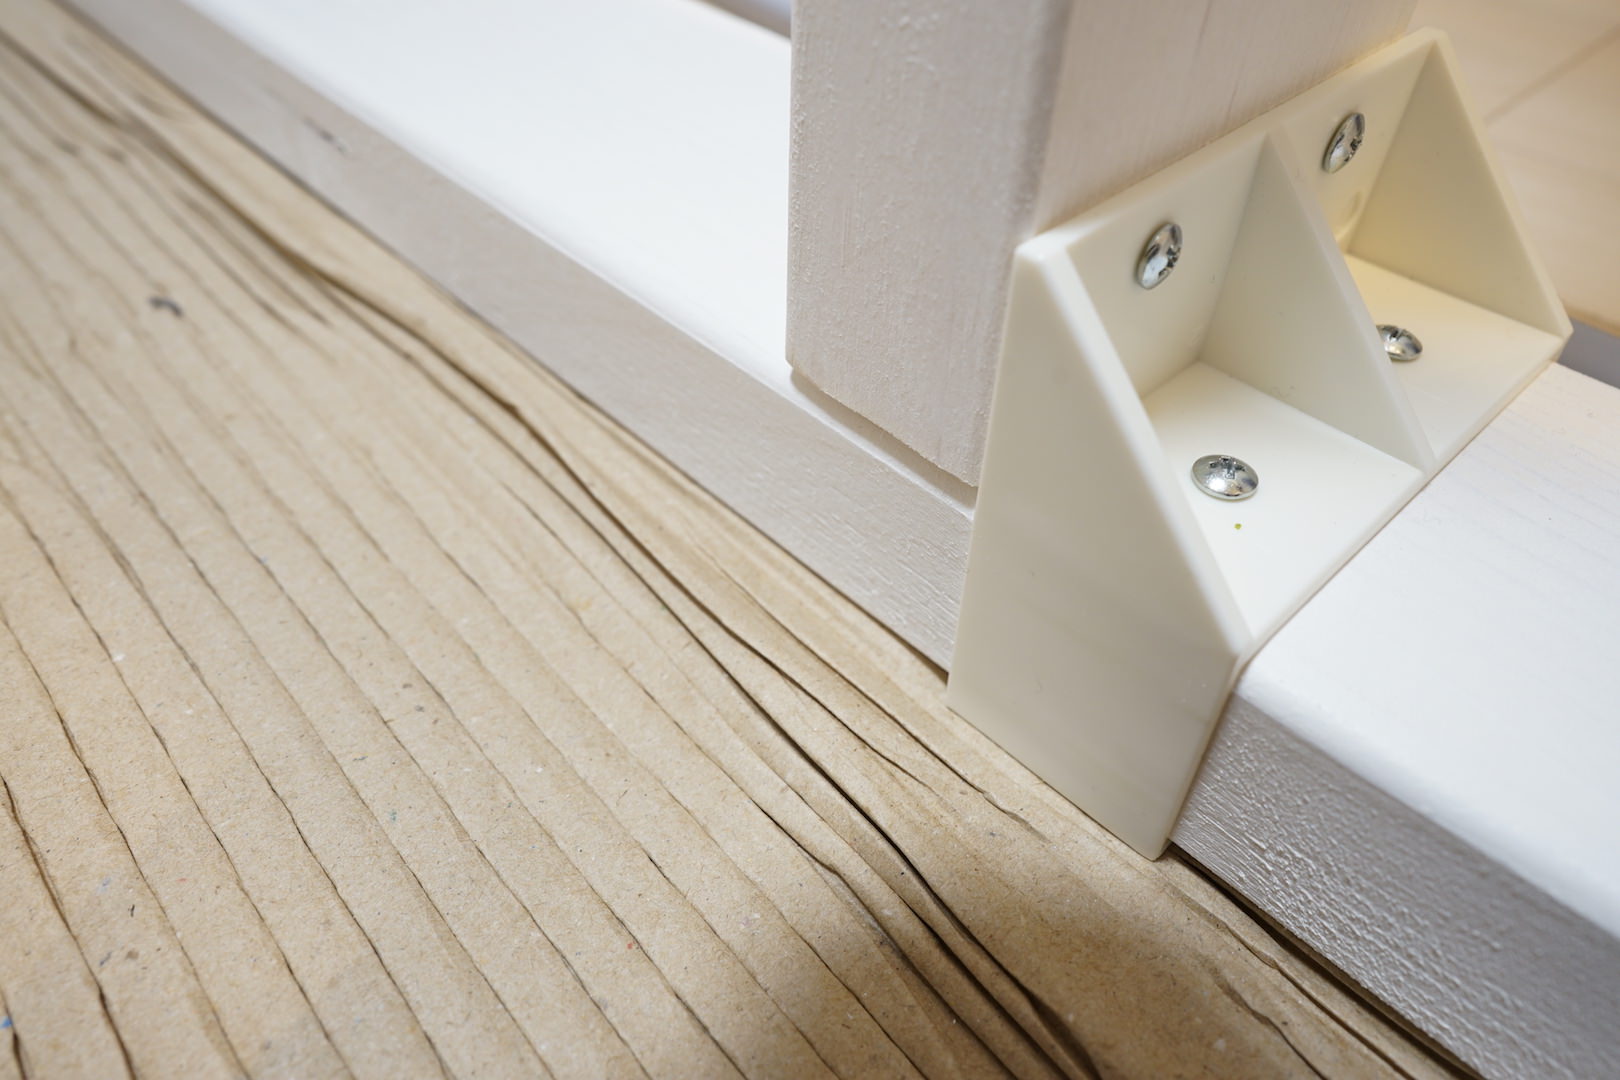
Next, pass the shelf bracket onto the post and fix the shelf at the position you have decided. The fixing method is to drive in screws just as before, but be aware that this screwing takes a little strength. Even if it is a hassle, we recommend adjusting the position of the post as shown in the photo below so the screws go in easily.
3. Set it up in the position you want
Once all the screws are fixed, it is complete and ready to install.
What you need to be careful about during installation is checking whether it is standing properly vertical. This step is an important point, so let’s do it carefully without skipping it.
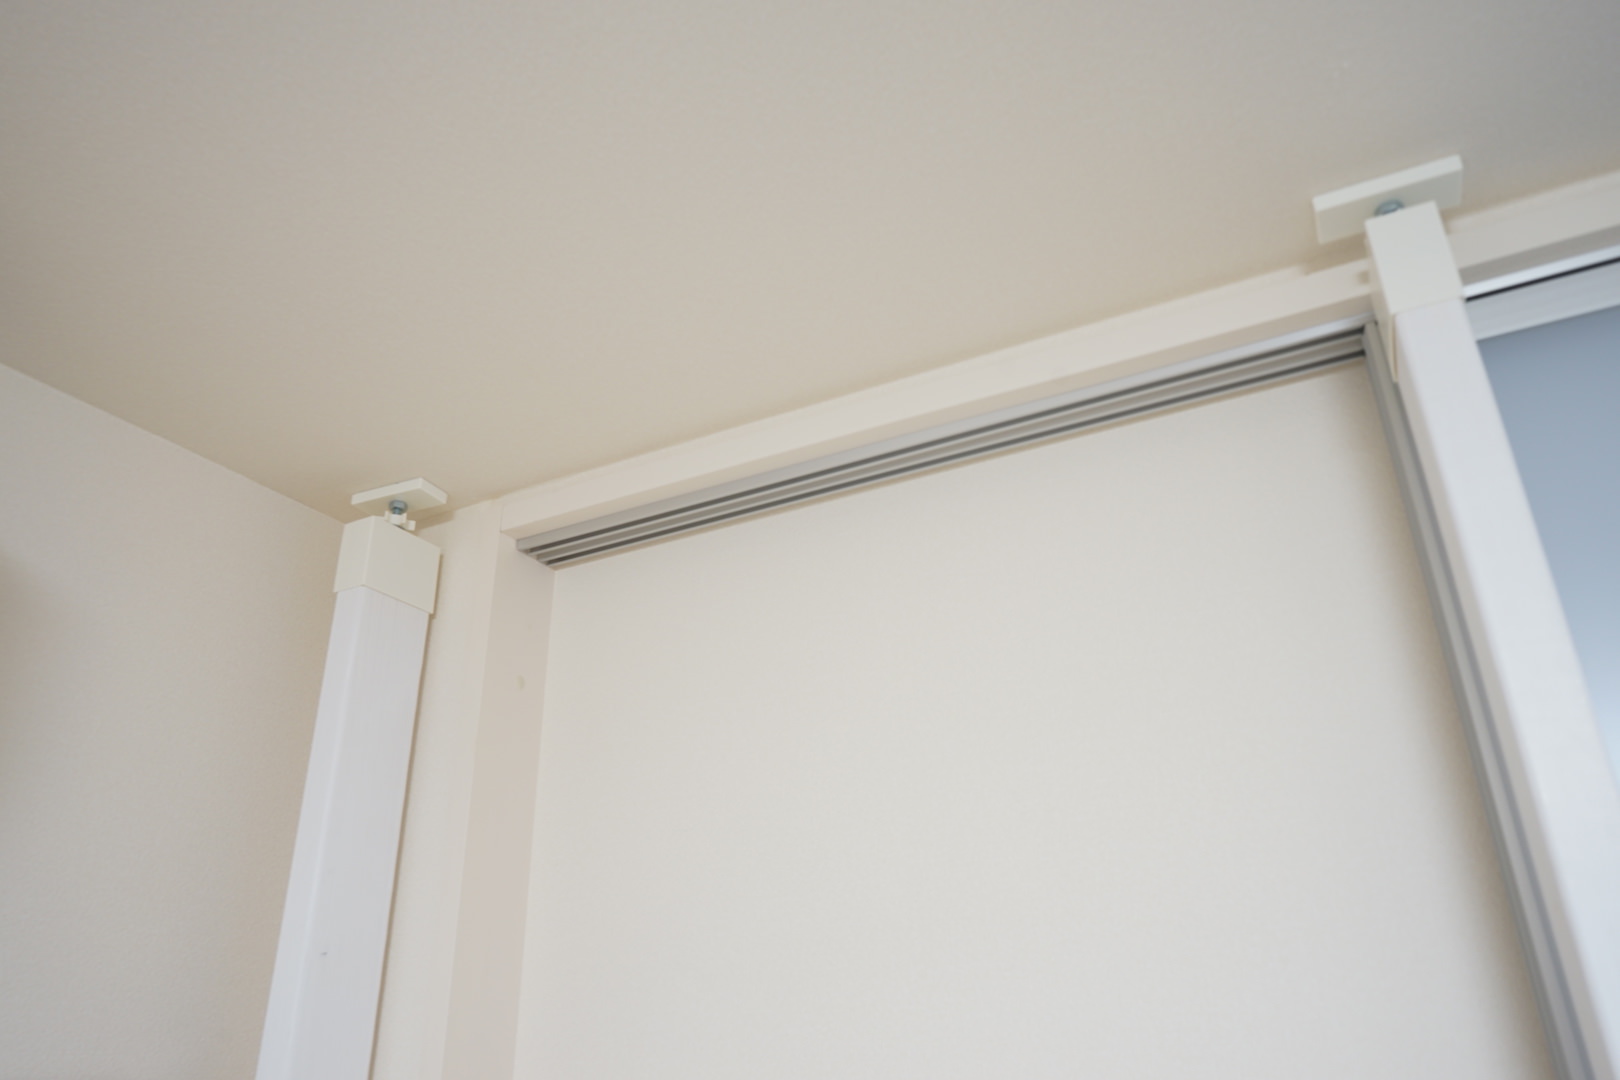
When it is set up properly, you can’t help but smile. I’d like to display postcards and framed pictures here. You can place three-dimensional works too!