Picture Rail (Origin Kogyo)
Once you’ve bought a painting, you’ll want to display it neatly in a spot where it’s easy to see.
For this installment of the “Easy DIY Series,” we cover installing a picture rail.
Picture rails are sometimes built into a room from the start, but there are also types sold that you can add on afterward to a wall, furniture, or wherever you’d like to hang a painting. Sizes vary, and rails with a “1m” mounting width are the most commonly sold. You can also connect picture rails from the same maker to install them in a series. You’ll want to measure the mounting spot carefully before buying.
You could buy them at a furniture store, but consulting an art-supply shop is really the way to go. They can also be purchased through online retailers like Amazon and Rakuten.
About the Installation
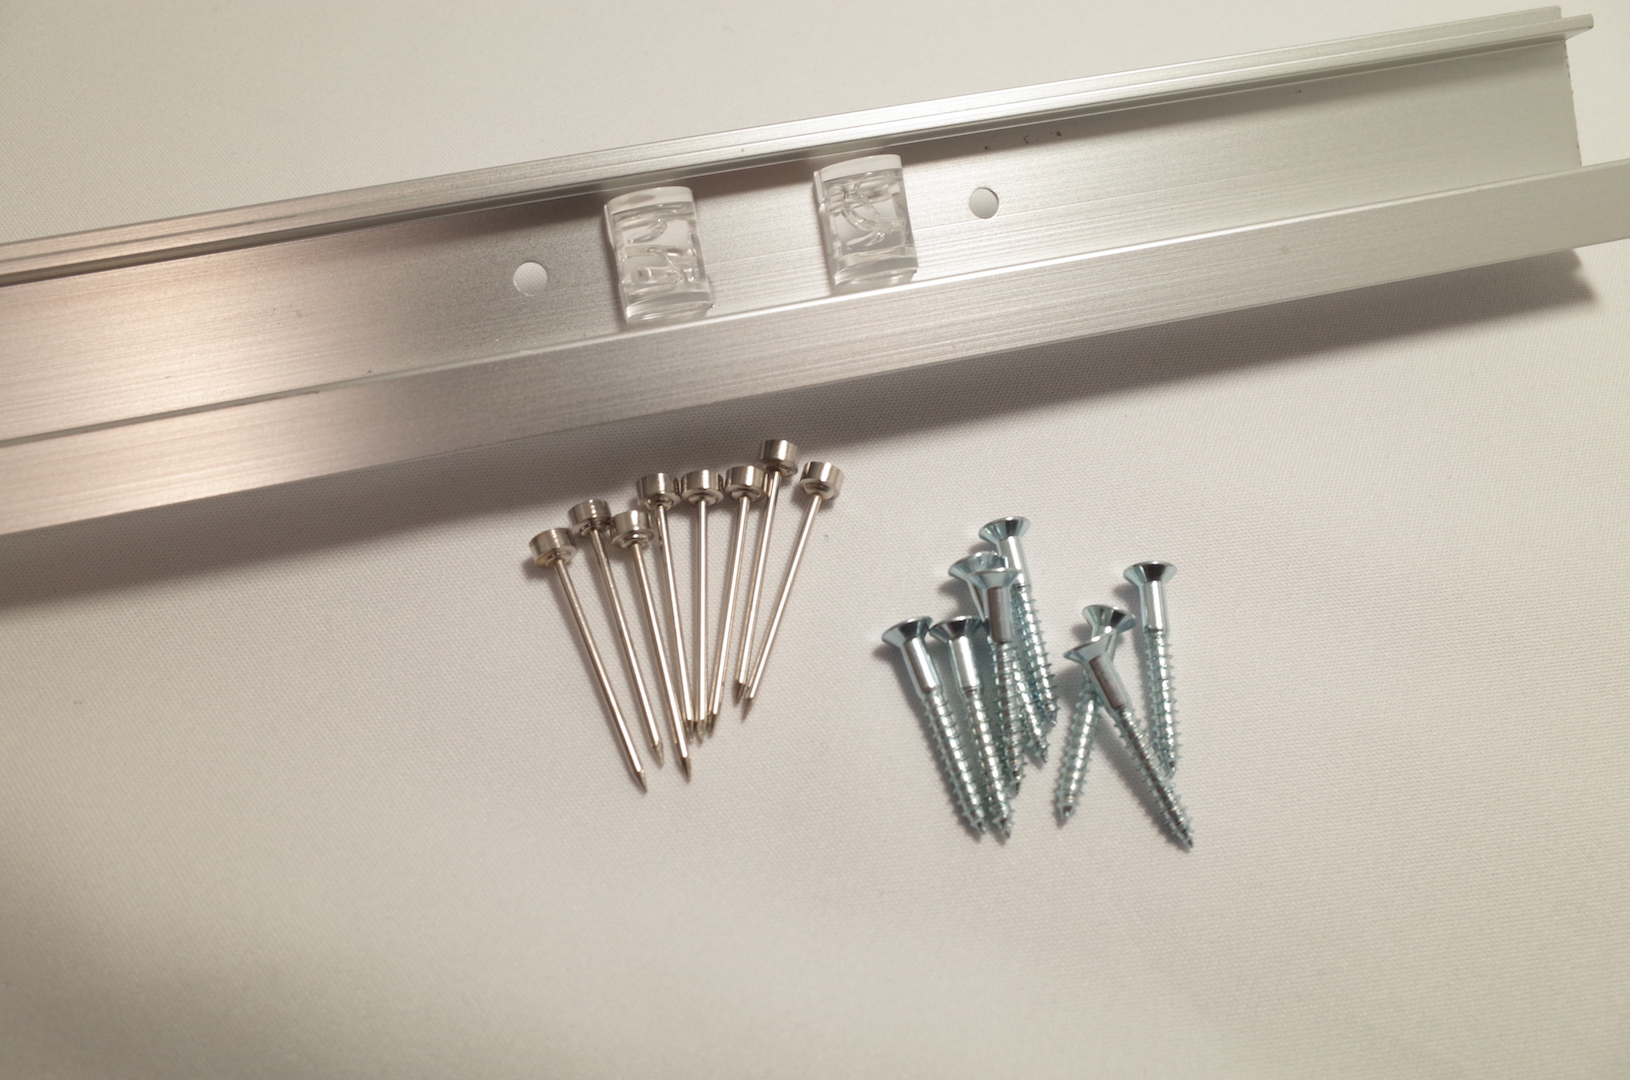
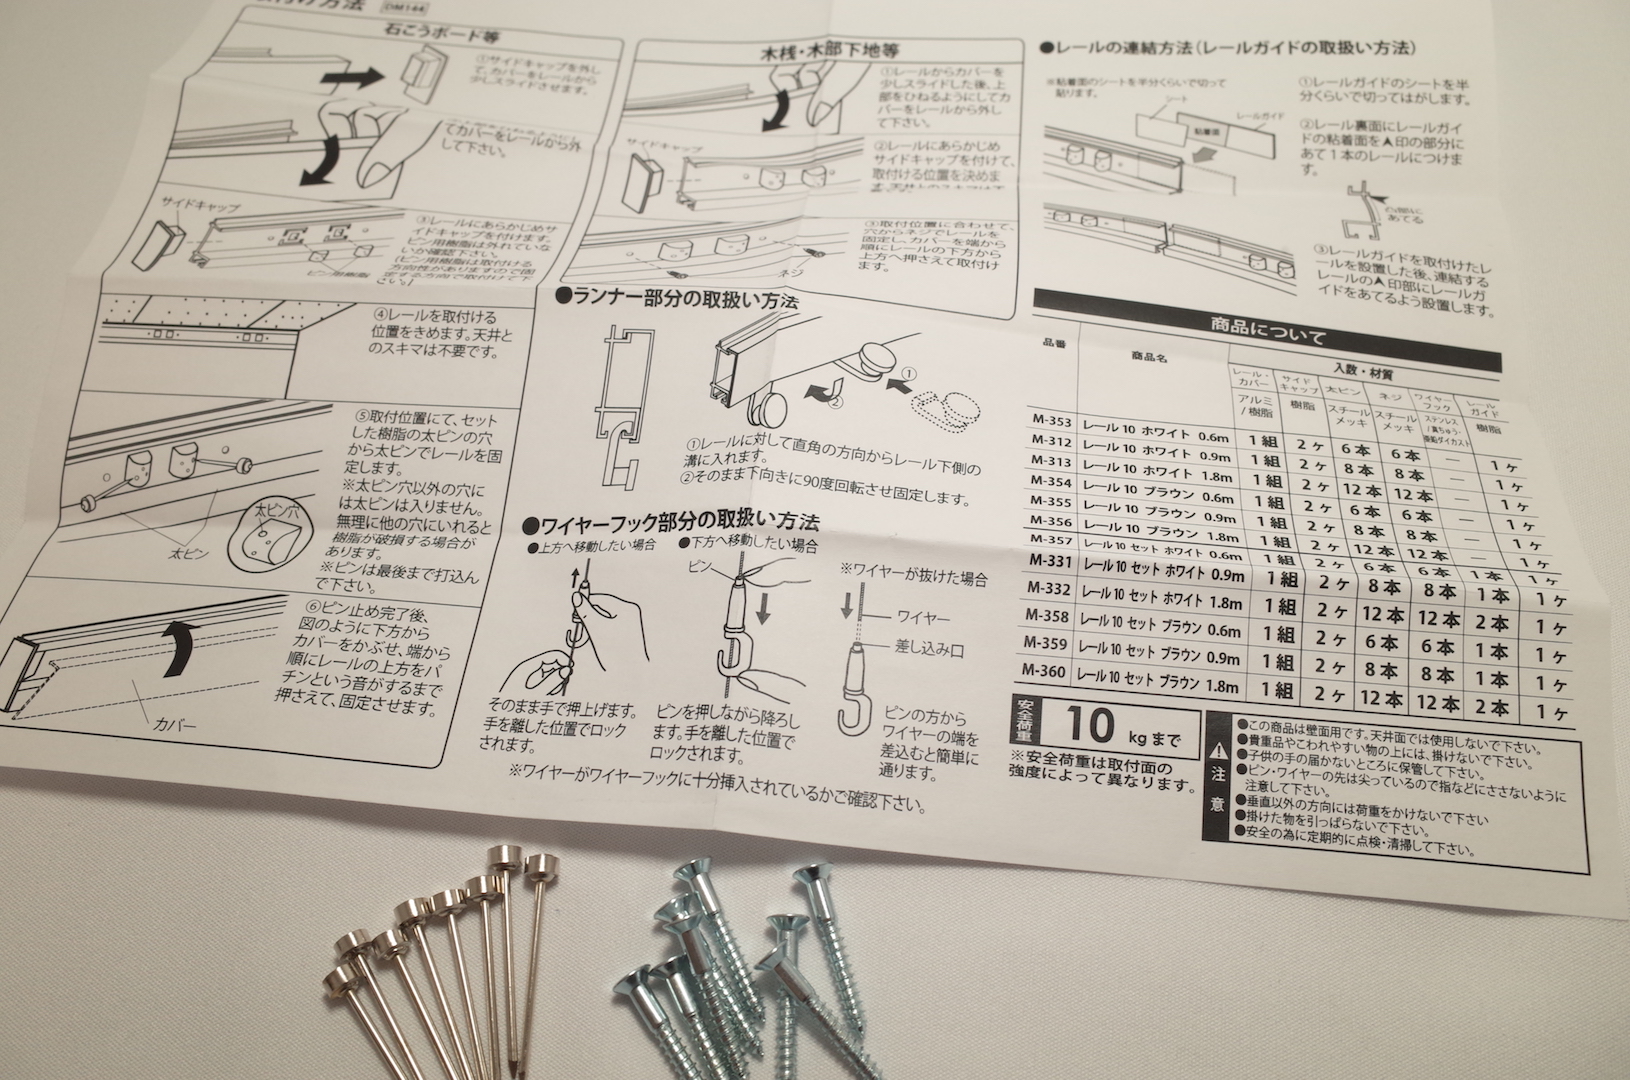
The Origin Kogyo picture rail I bought uses a different fixing method depending on whether you’re mounting it on plasterboard or nailing it into a wooden batten (*mokusan; the wooden framing set inside the wall).
I recommend the method of fitting it snugly with screws, as shown in the photo below, but even on plasterboard you insert it at an angle using eight metal pins.
The detailed work steps are written in the instruction manual.
The picture rail also comes in three lengths—60㎝, 90㎝, and 1.8m—and is designed so the pieces can be connected together (top right of the manual).
Starting the Installation Work
Now let’s actually install it.
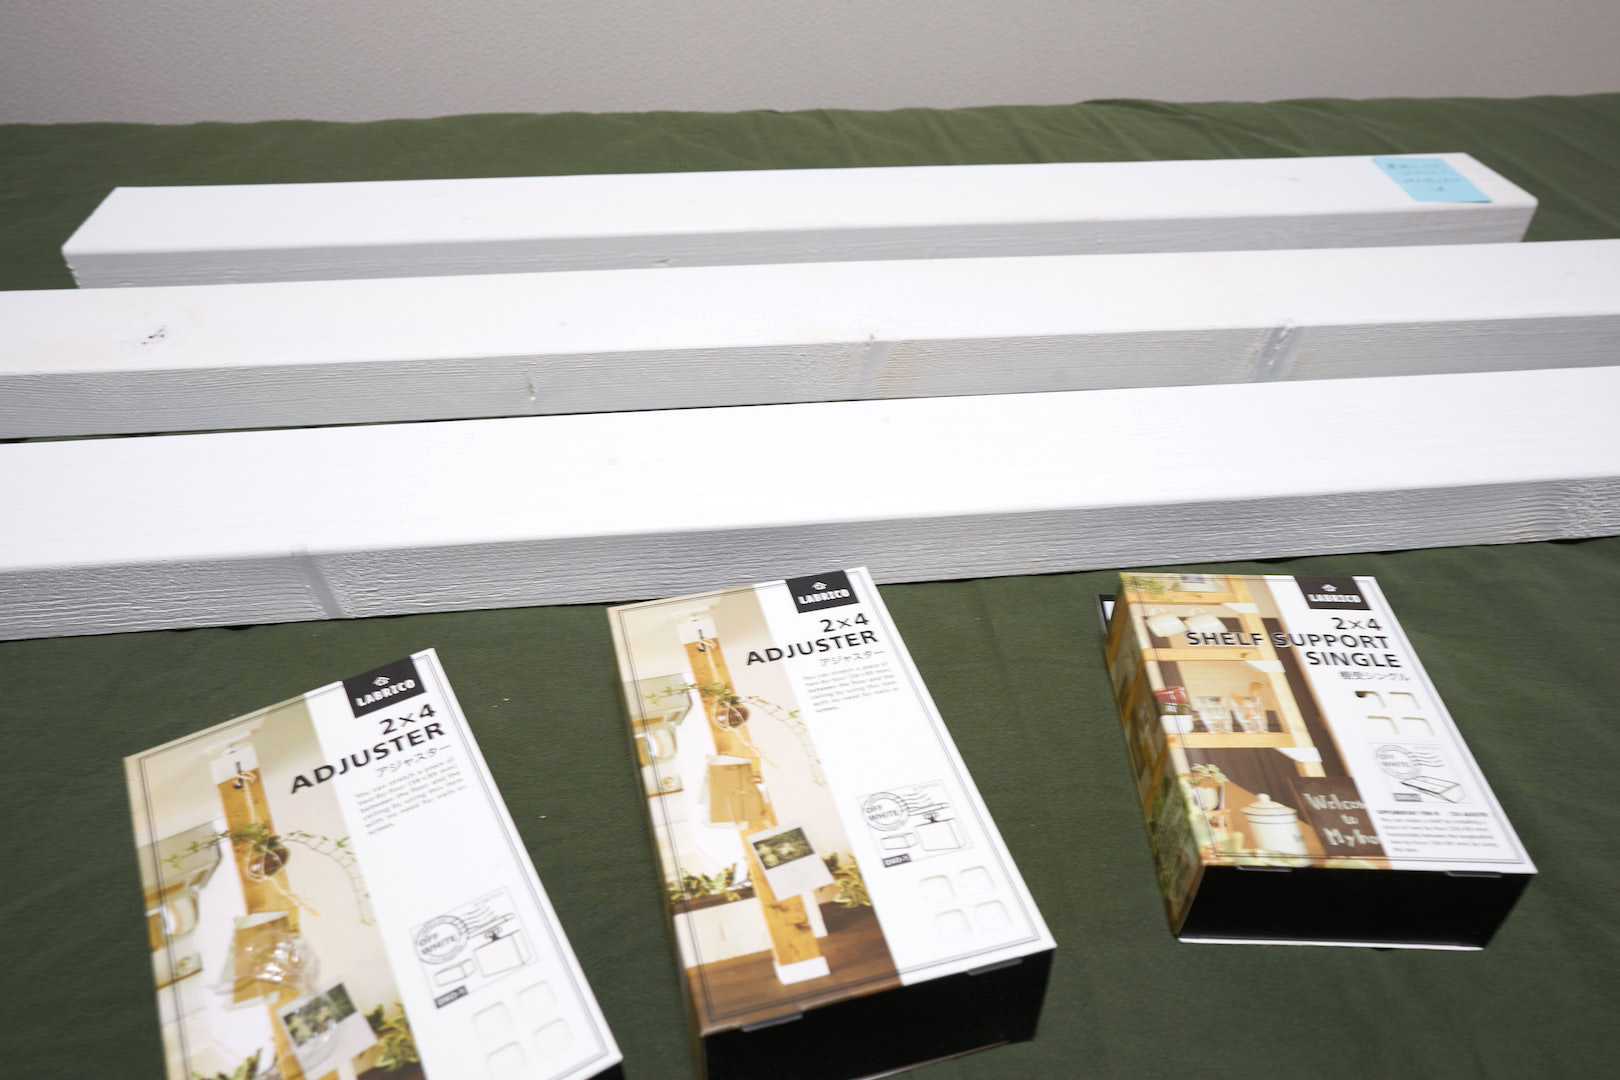
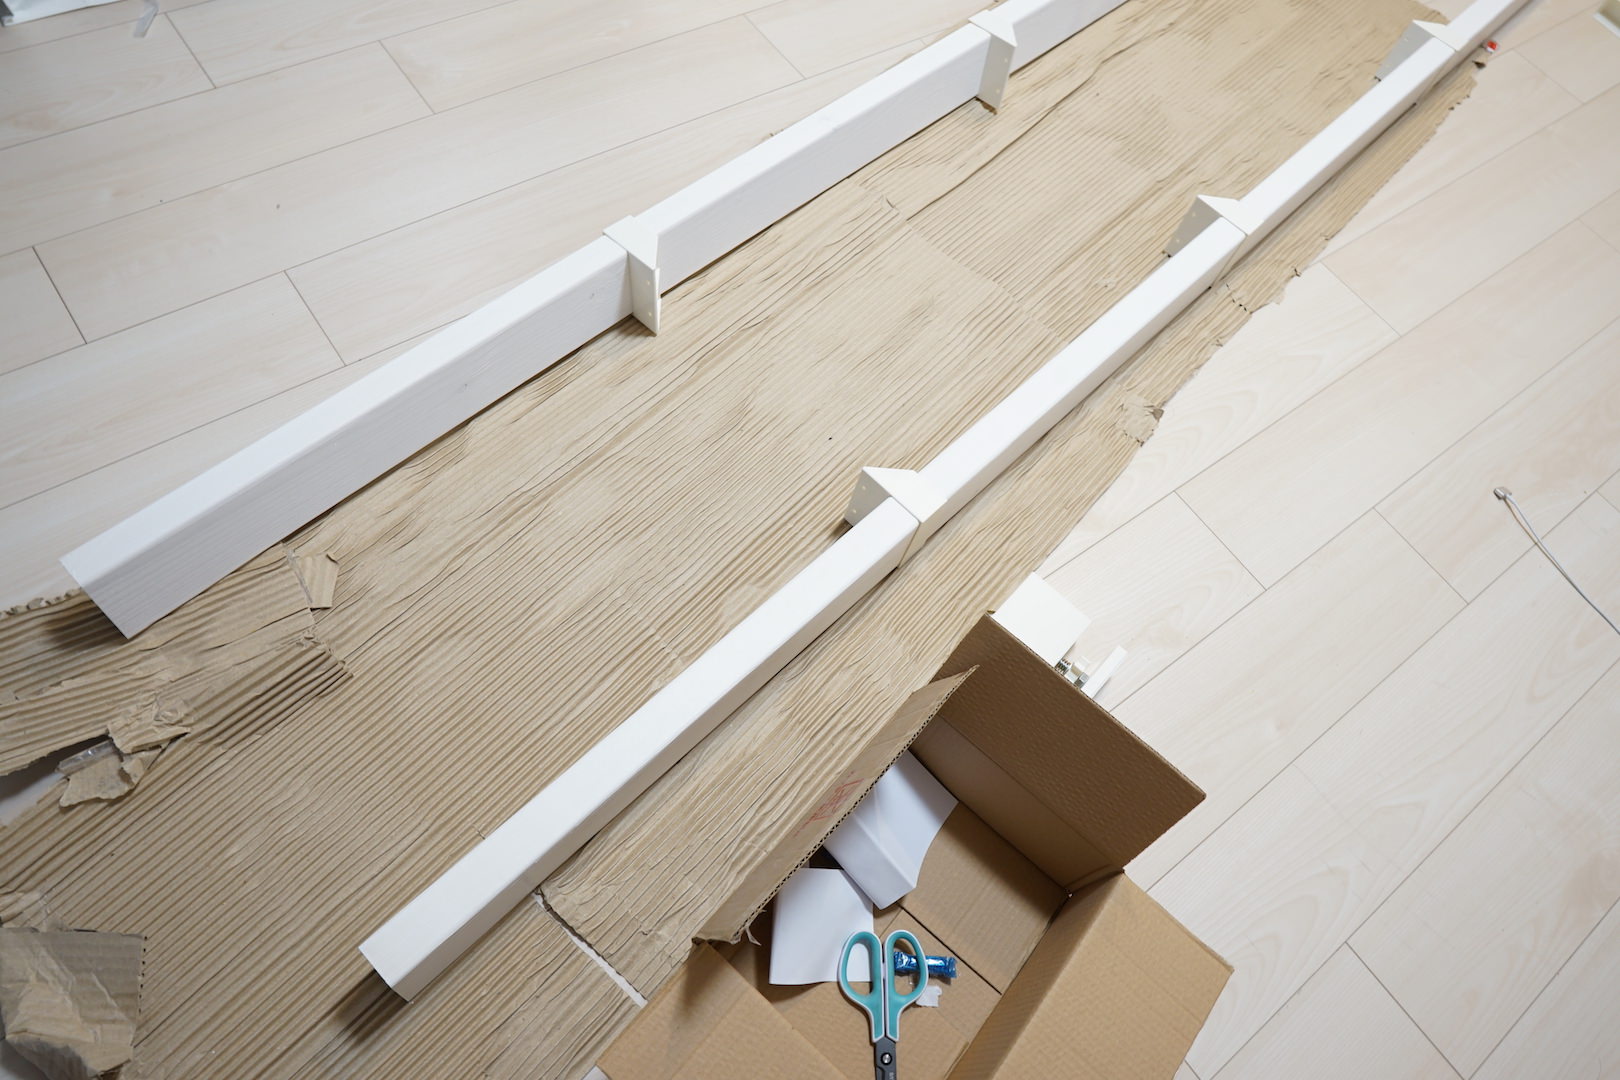
I’ll attach it to the 2×4 I covered in a previous article. You can access the past articles below.
https://art-on.jp/living-in-art-1/
https://art-on.jp/living-in-art-2/
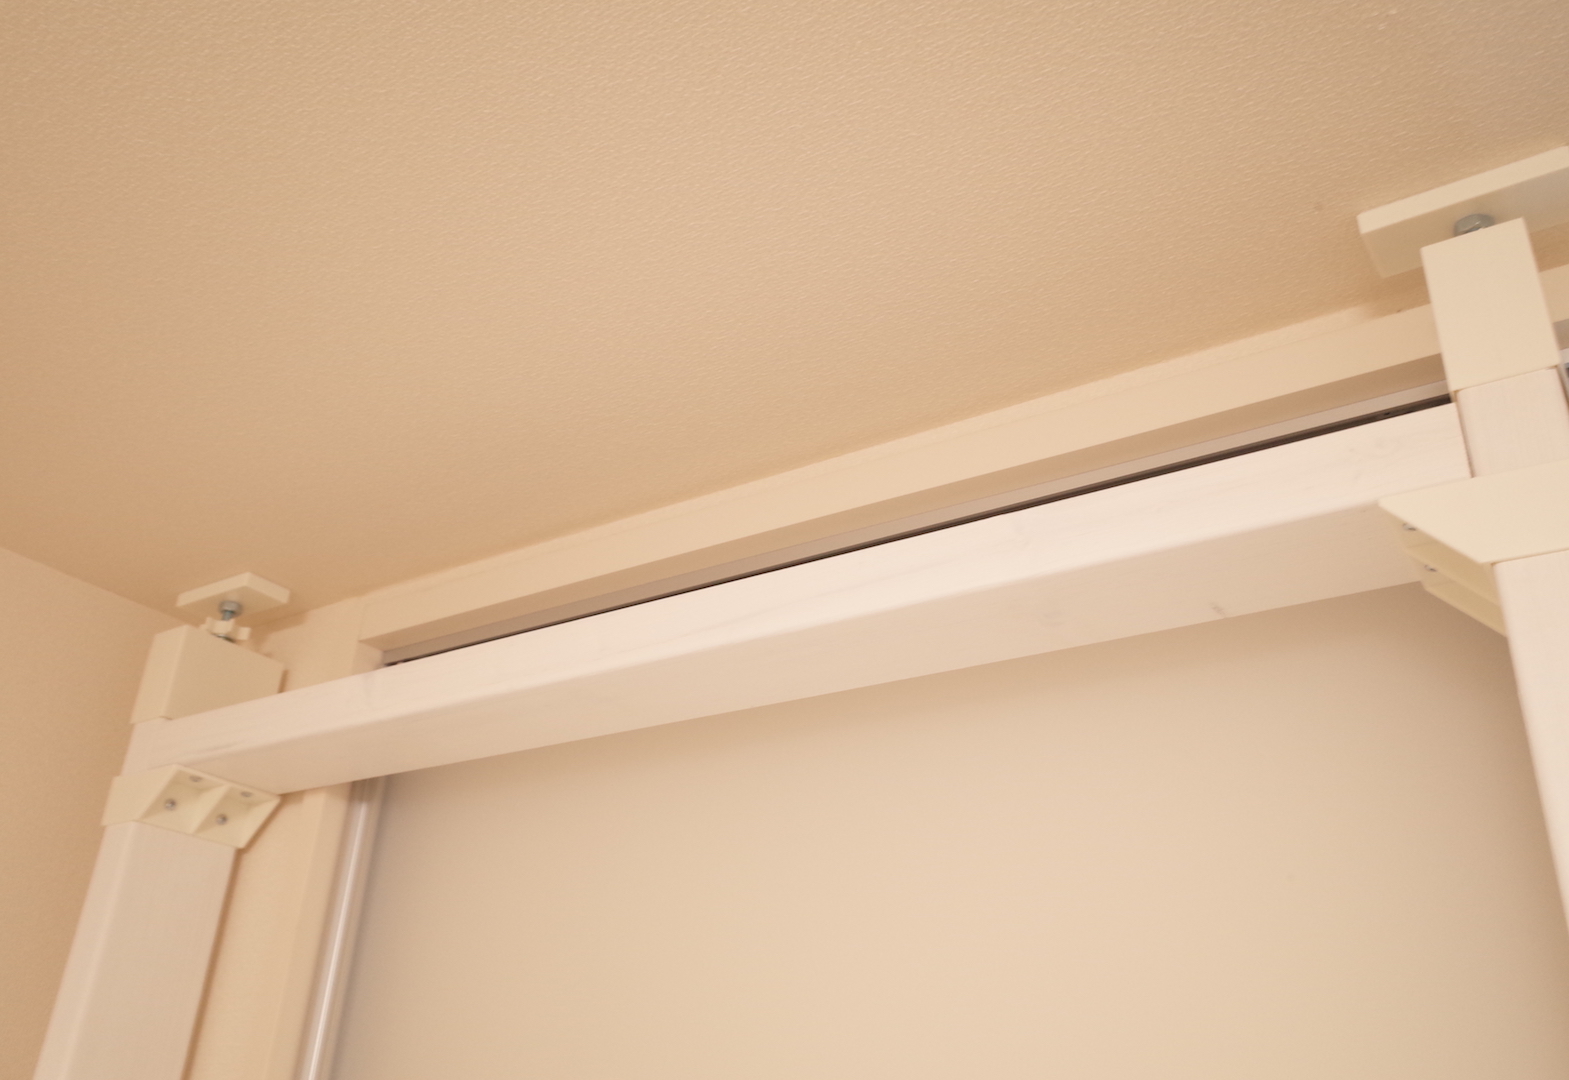
Since it’s just a matter of fixing it in place, I figured driving in the screws would be easy—but they’re small screws, so I had to keep finely adjusting my grip to avoid stripping the screw holes as I went.
Installation Complete — Attaching the Wire & Hook
Basically you just fit it in with screws, so it isn’t difficult. I was able to set it up in no time.
You slide the hook onto the rail from the side. For heavier sizes, hanging it with two wires adds stability.
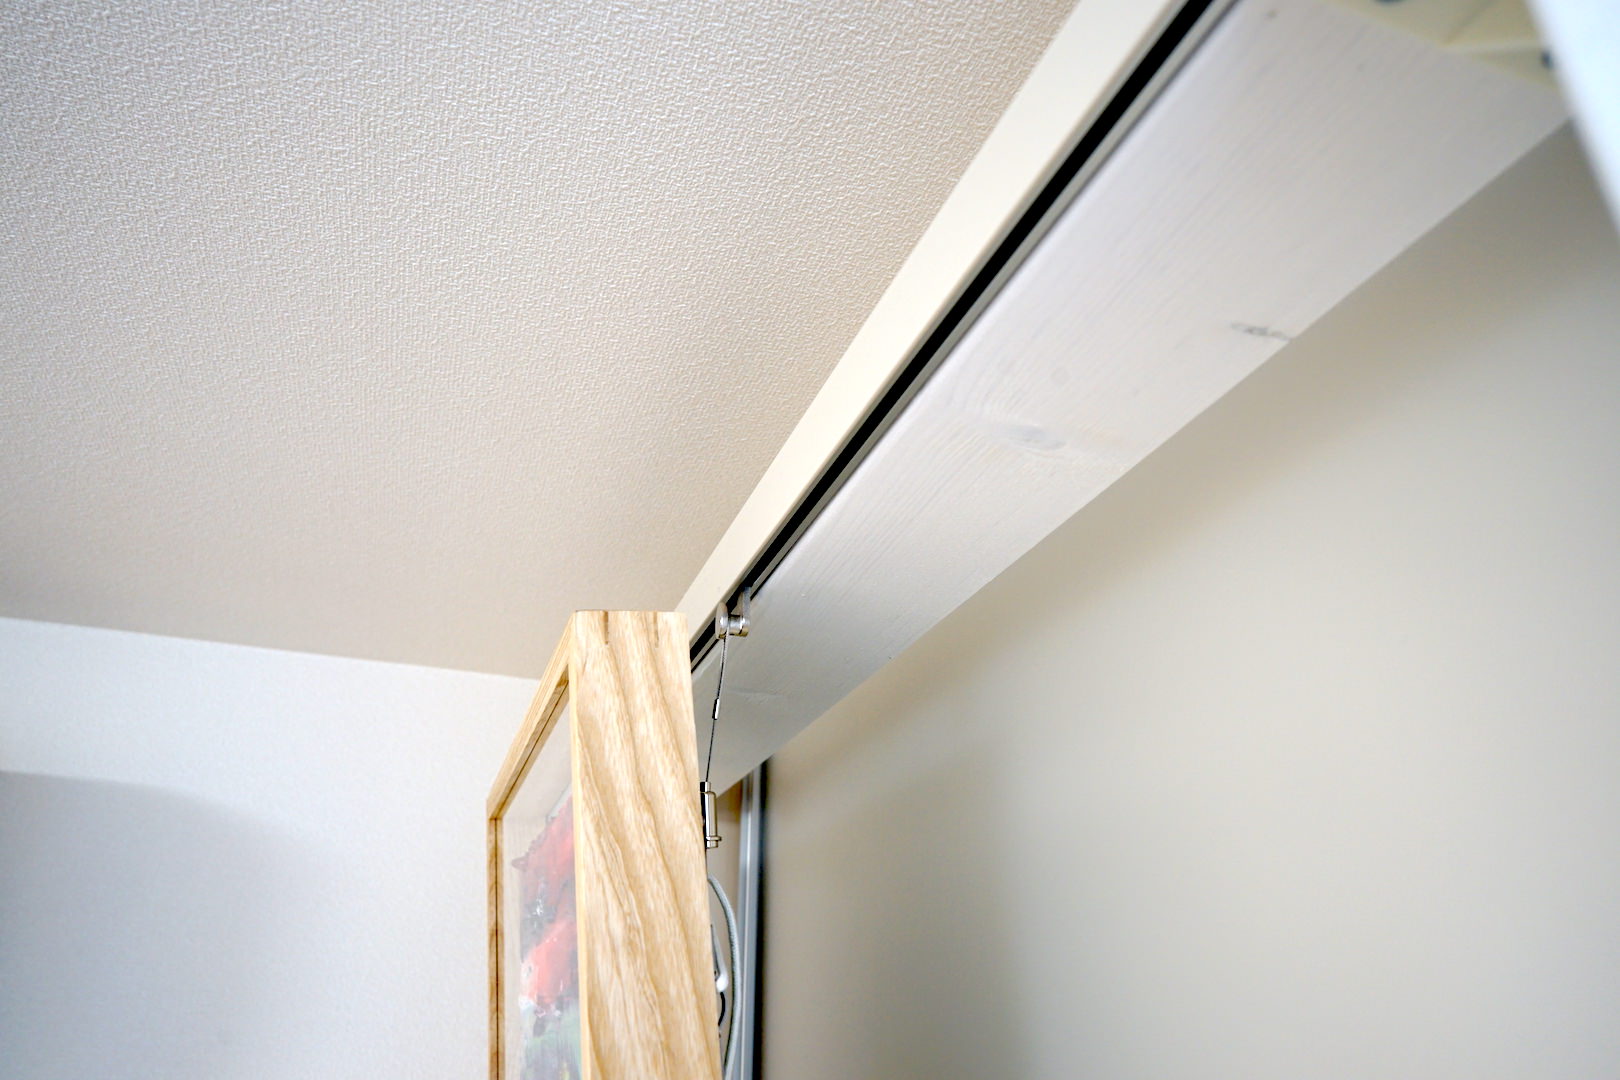
Thread the wire through and you’re done. Check that the work is displayed properly level, and you’re finished. Even if the left-right balance is off, adjusting it is very easy.
Wire & Hook (Fukui Metal Craft)
When I consulted the art-supply shop I always go to, they recommended products from a maker called “Fukui.” Looking at the product packaging, it has a sense of history and a real dignity to it. *Even though it’s called Fukui (福井), the company is actually located in Nara Prefecture.
It’s a hard-to-follow pricing scheme: rather than buying the hook-and-wire set (1512 yen), it’s cheaper to buy the rail-specific hook (324 yen) and the Power Mini Wire (821 yen) separately (1145 yen). The rail is from a company called Origin Kogyo. *Prices vary by retailer.
Note that the wire comes in various lengths, such as 50cm and 1m.
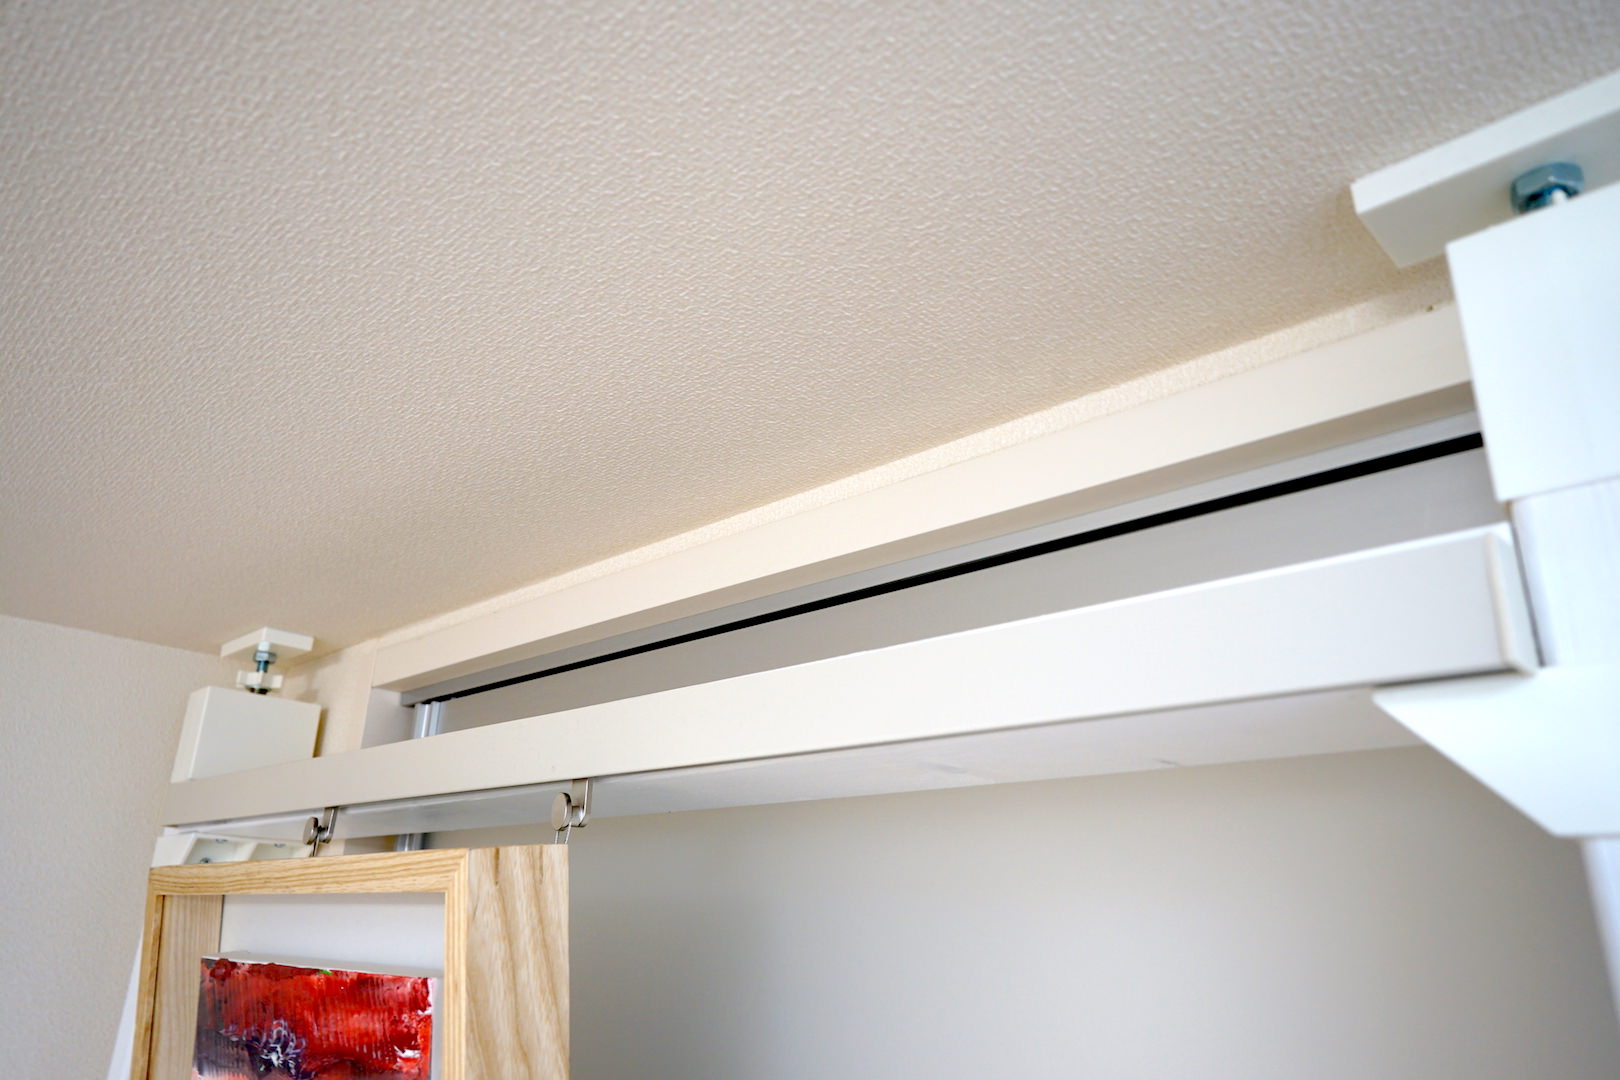
There’s also a method of hanging directly on the wall, so please refer to the next article as well.