Framing It Yourself
As a rule, I keep and view every artwork I own inside a frame. Protecting a work as much as possible from various threats — dust and grit, airborne debris and oils, sunlight and lighting — is, I think, the bare minimum a collector should do.
I fundamentally regard artworks as pieces I am “holding in trust,” so I want to treat their storage with care. The mindset of protecting important works and passing them on to the next era matters, too.
Until now I had the gallery where I bought a piece handle the framing, or I bought a frame at an art-supply shop and paid a fee to have it framed. This time, I decided to do the whole thing myself.
Buying the Frame
Choosing a frame usually means going to a shop and matching the work against frames in person, but this time I already had a clear image in mind, so I decided to buy online.
That’s because the work I was framing this time — “oraange” by Masazo Taniguchi — has imagery extending onto the sides of the canvas (the outer edges), so parts would be hidden in an ordinary frame. After considering how to show the whole thing, sides included, I chose a three-dimensional mount in a “box frame.”
For the shop, I went with “Gaku no Matsueda,” famous for low prices and speed. It’s a solid 30–40% cheaper than the shop I usually use — a real bargain.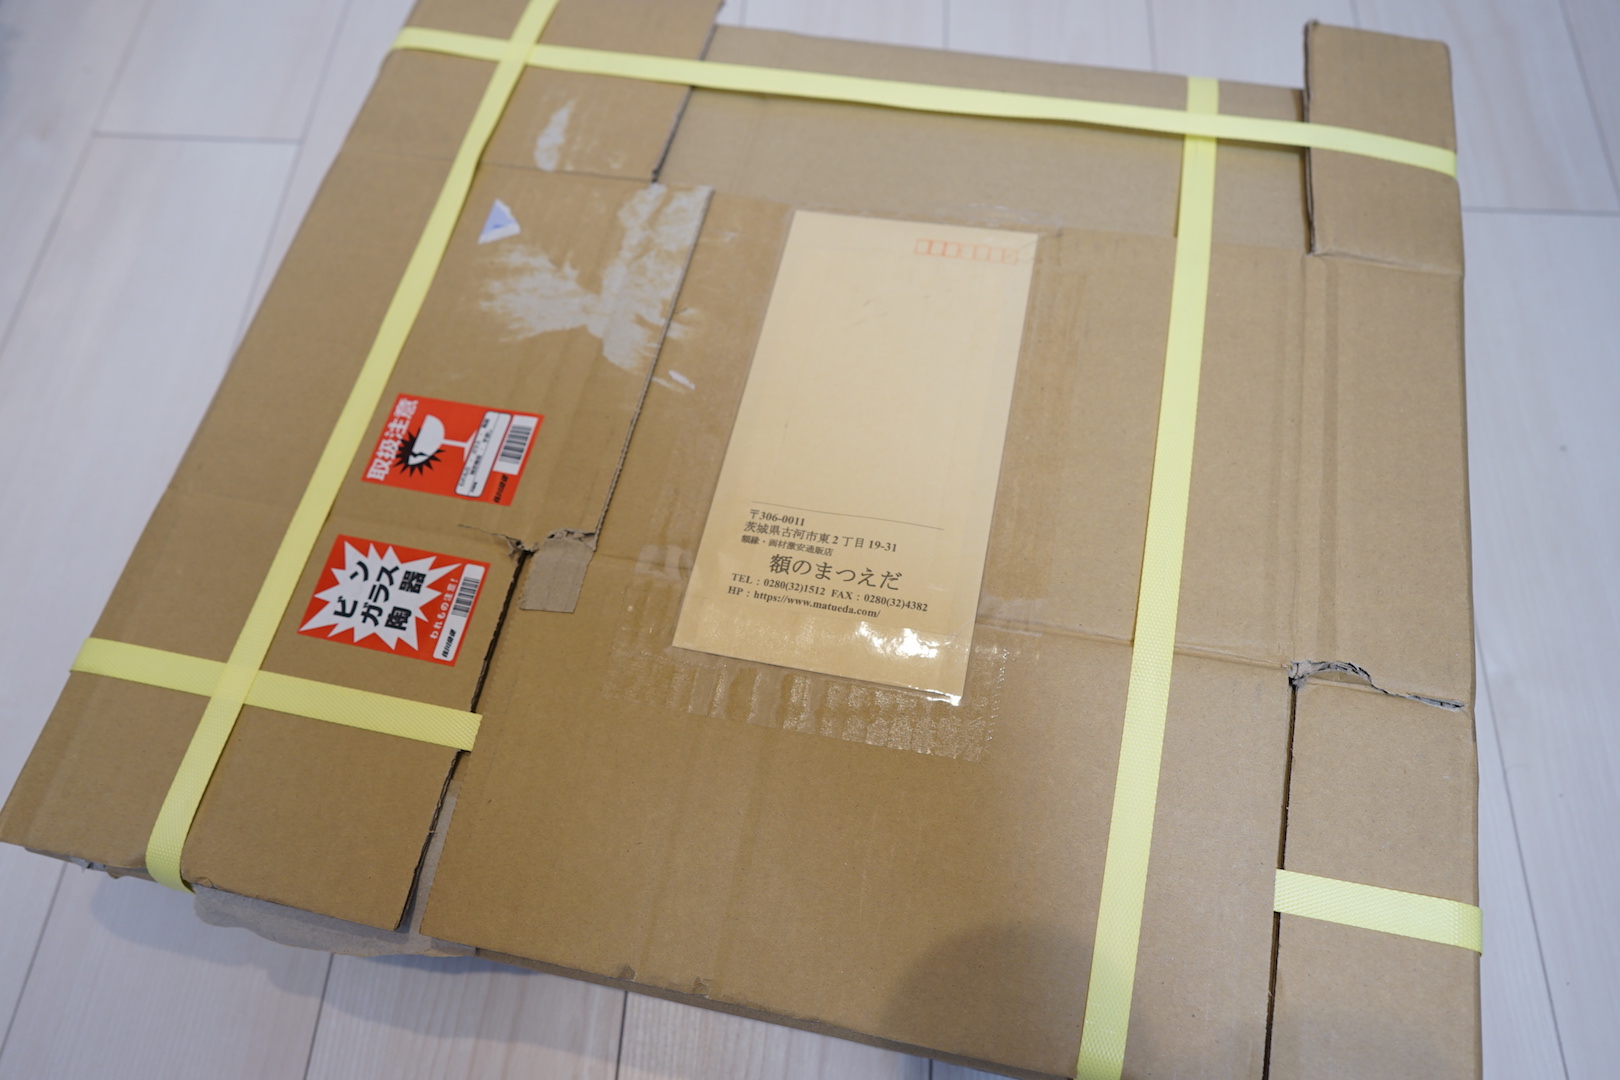
Getting Started
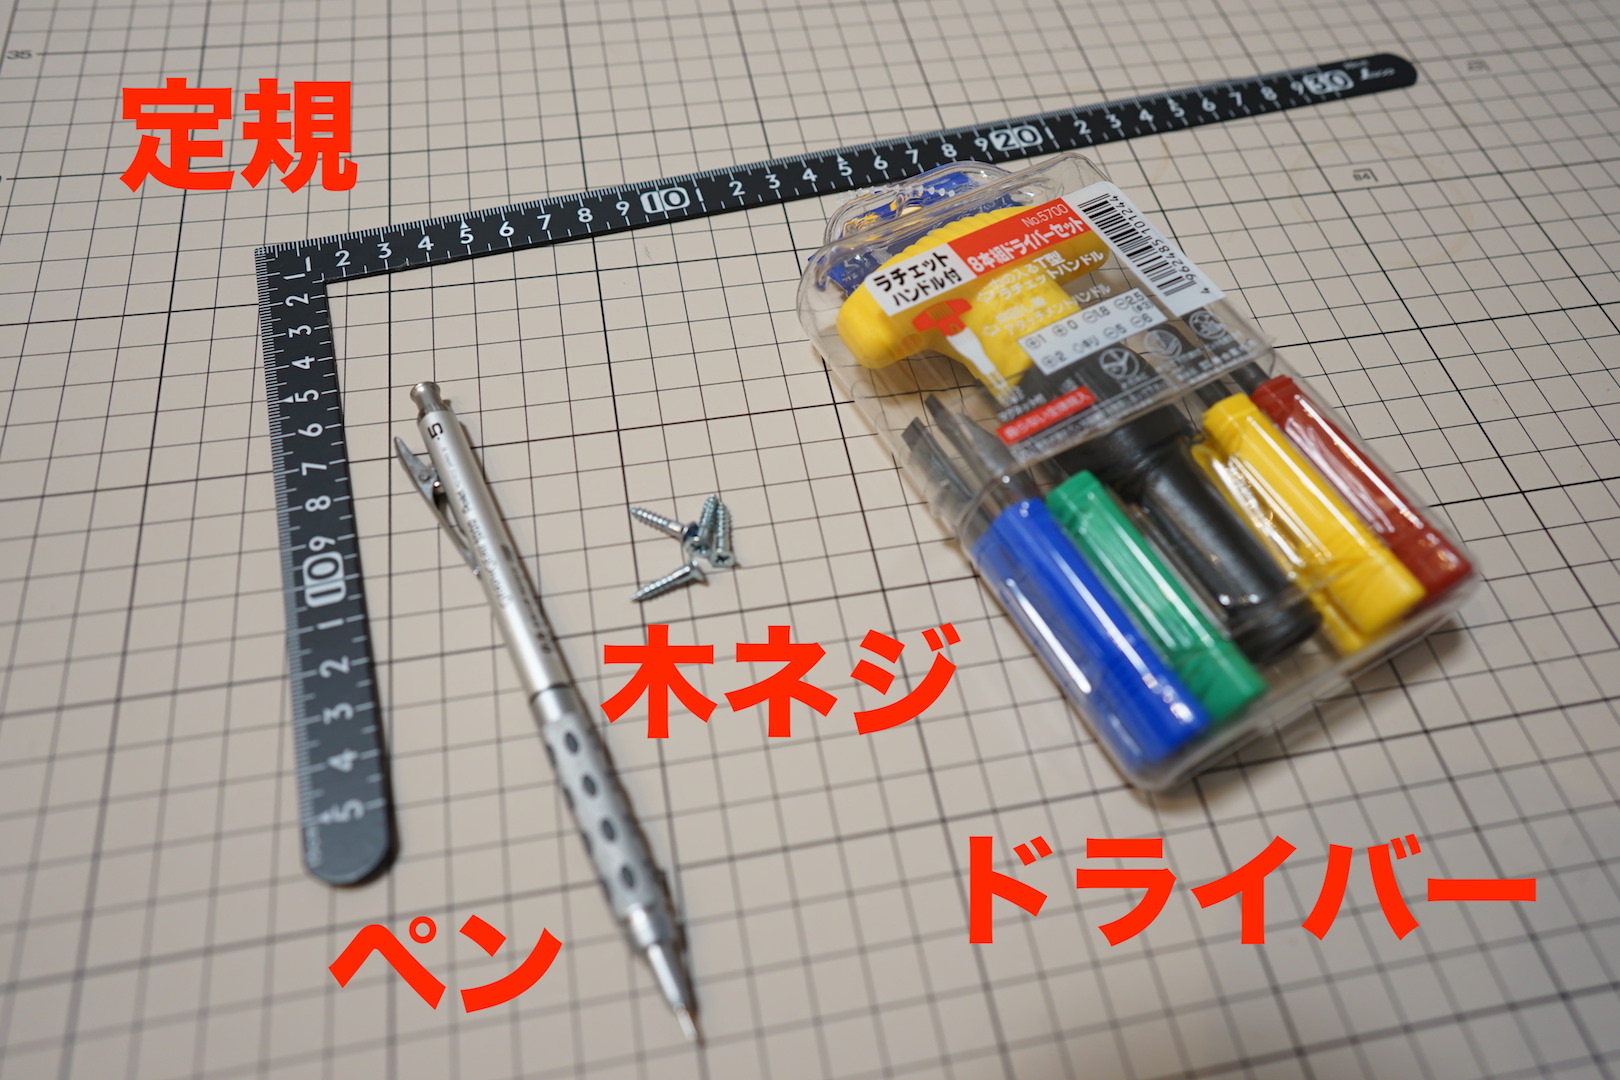
Now the “DIY framing” begins. The main focus this time is how to secure the work.
1) Measuring
Check the sizes of both the mounting board and the canvas, and decide where the screws will go. I checked the canvas and board over and over, working carefully.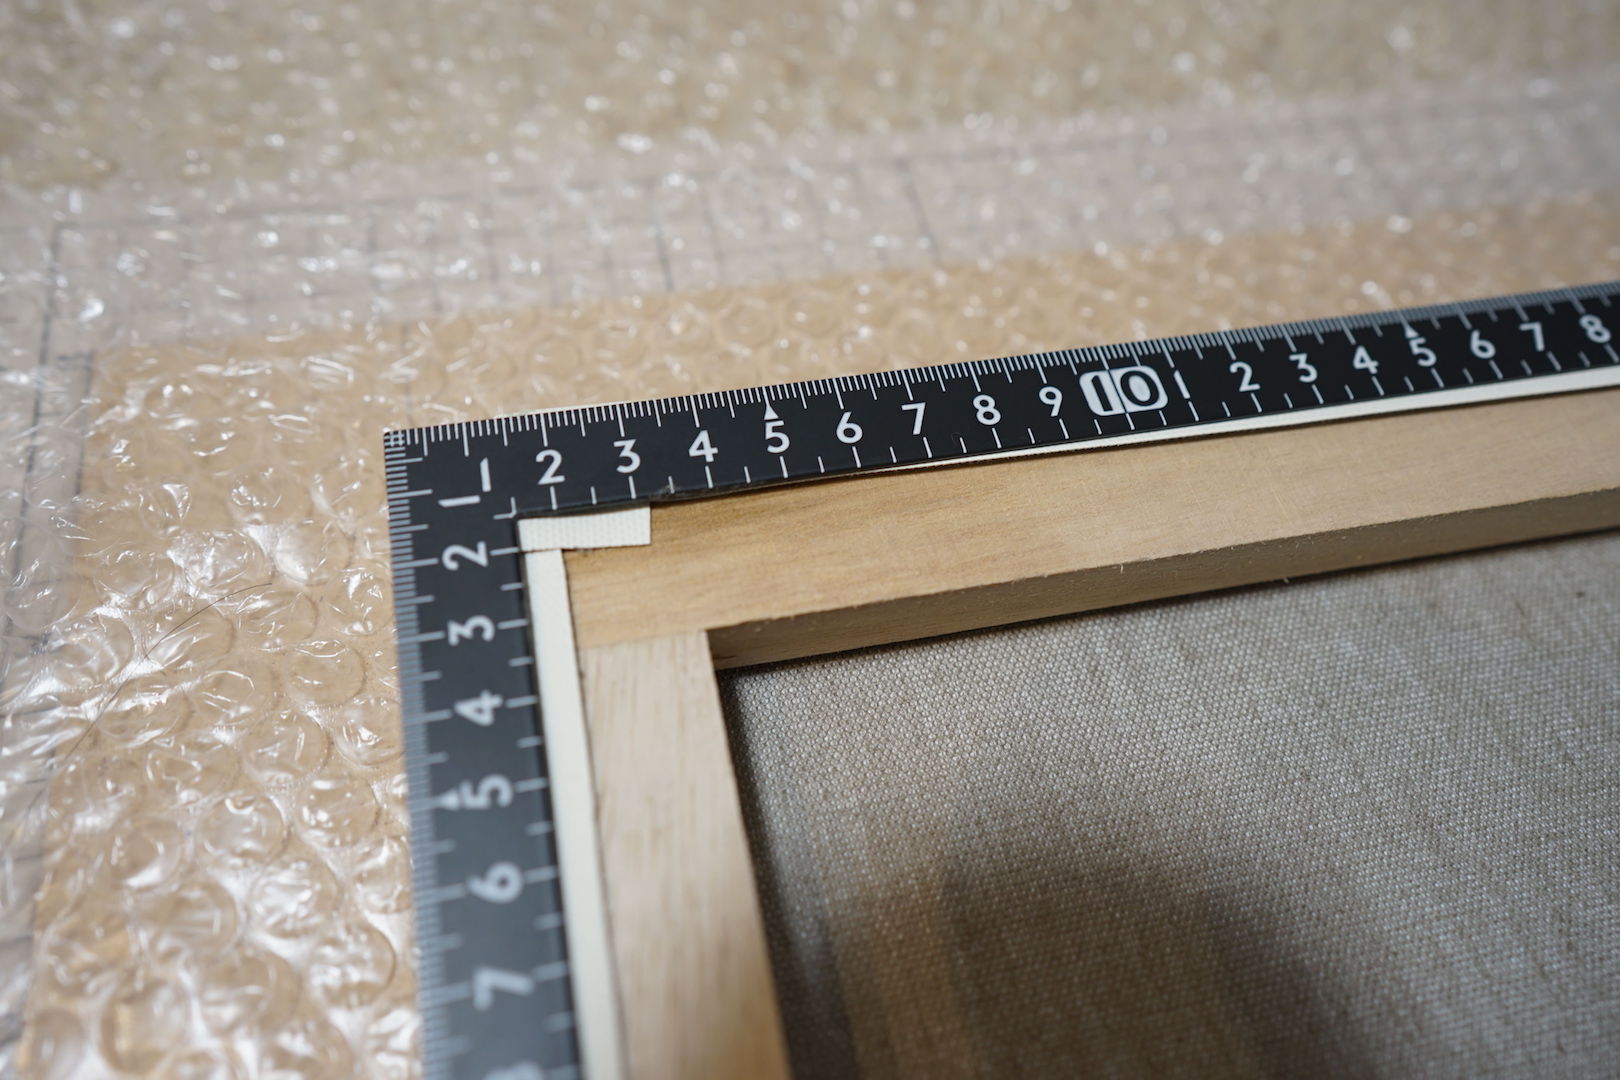
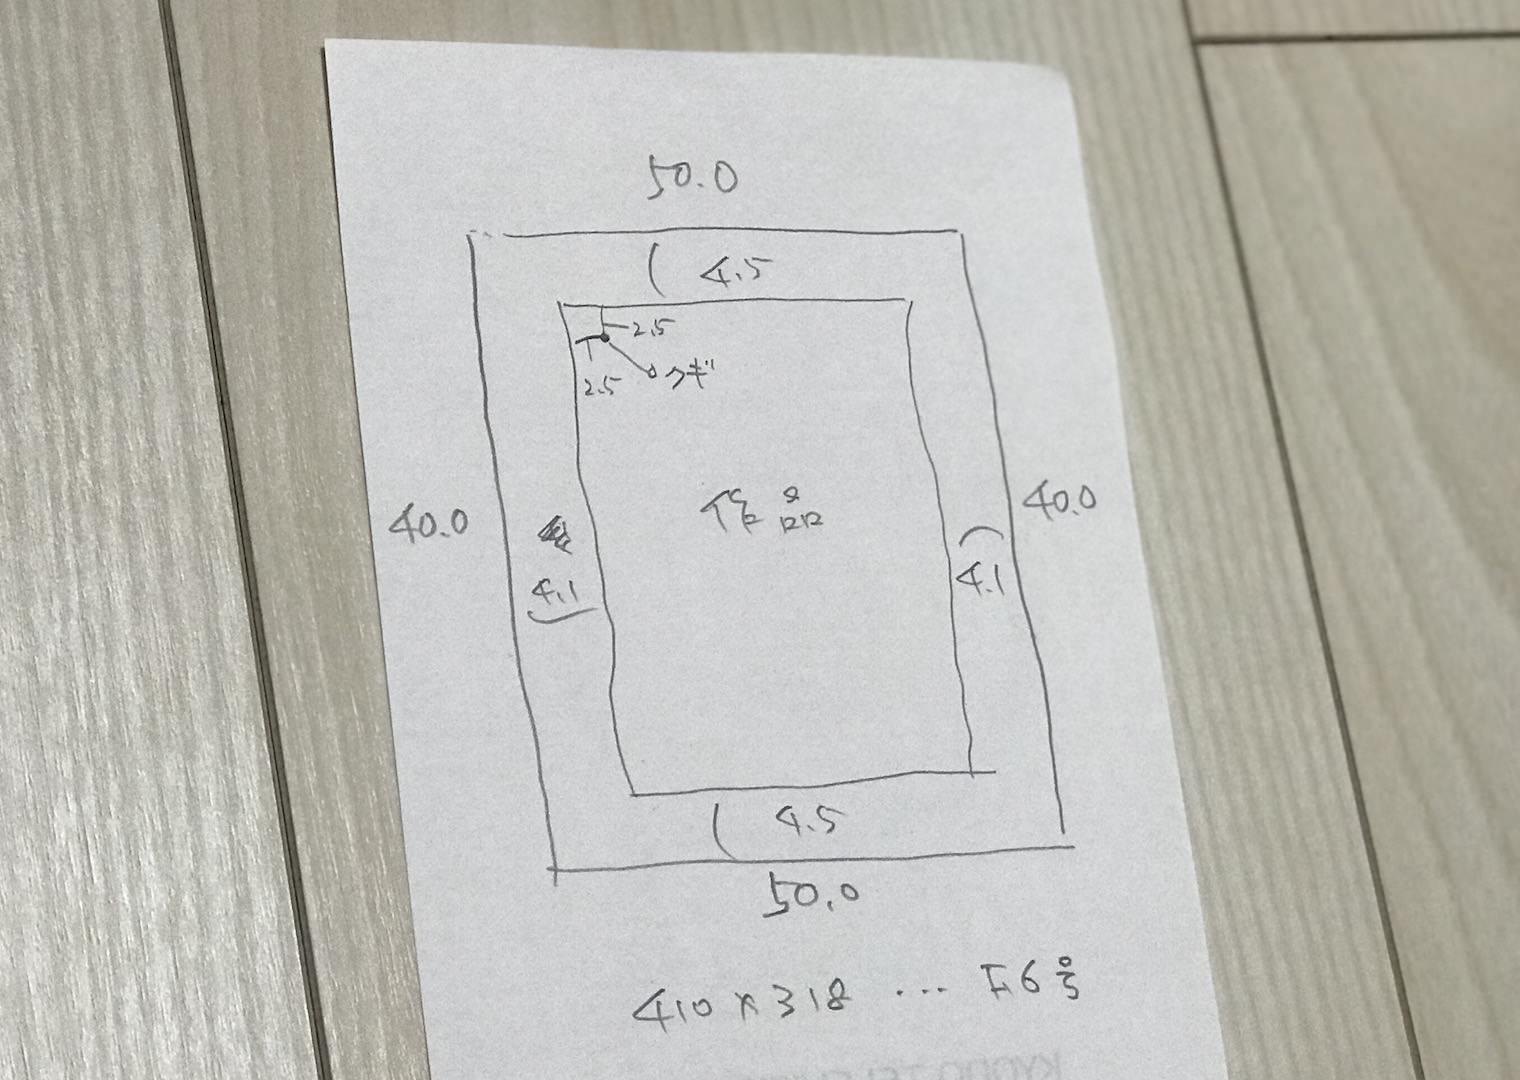
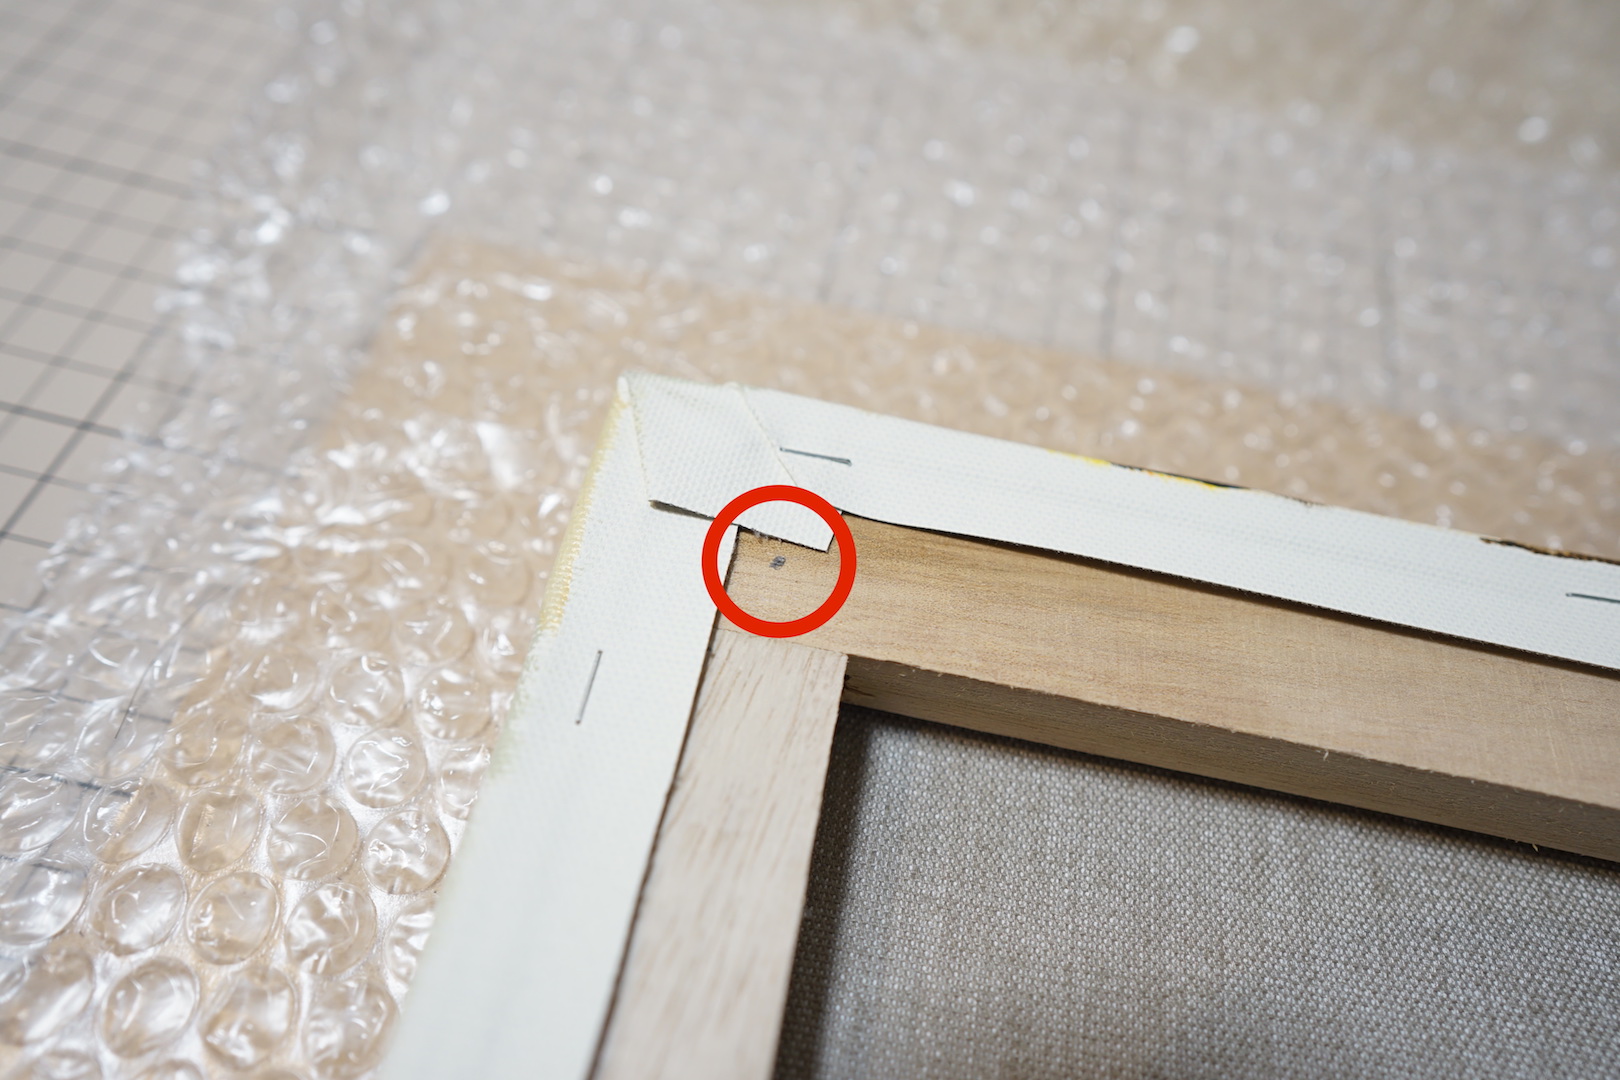
2) Marking the Mounting Board
This time the frame is black, so the front of the mounting board is black too, which made marking a struggle. A chalk pen might have worked better.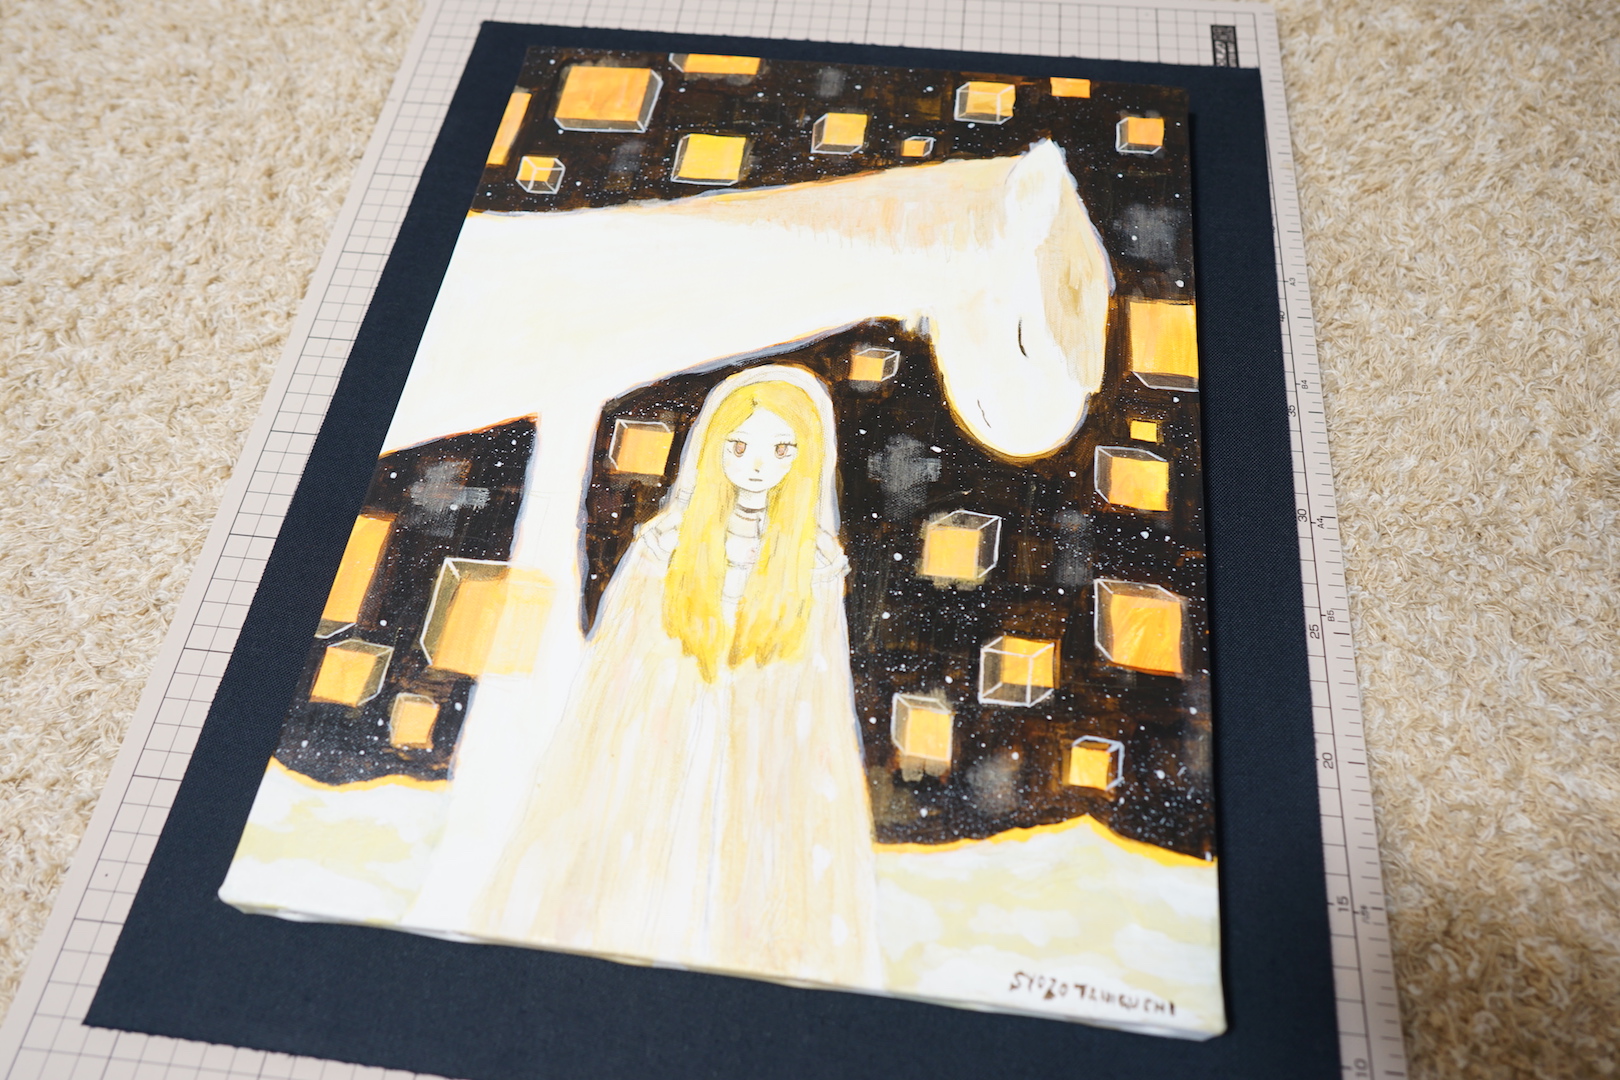
3) Driving the Screws
Place the mounting board over the work and drive in the screws. Some people use double-sided tape so things don’t shift. Be most careful here!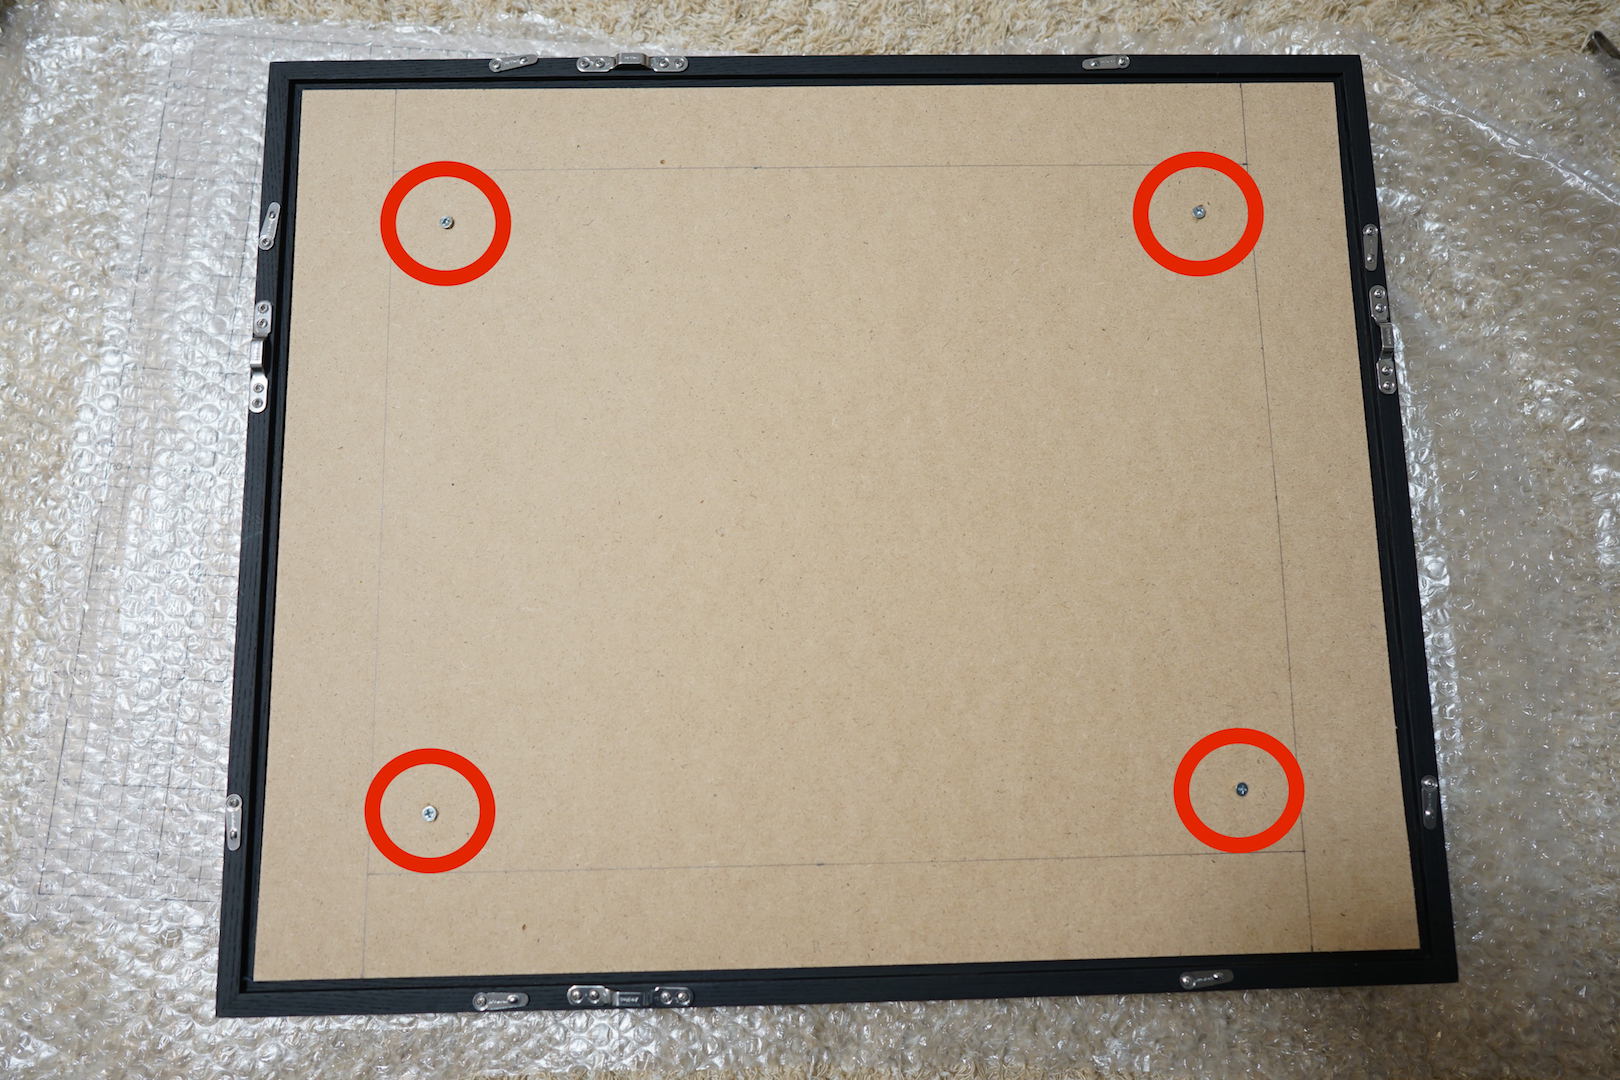
4) Checking
Once the screws are in, is it firmly secured? I also check the left-right and top-bottom balance.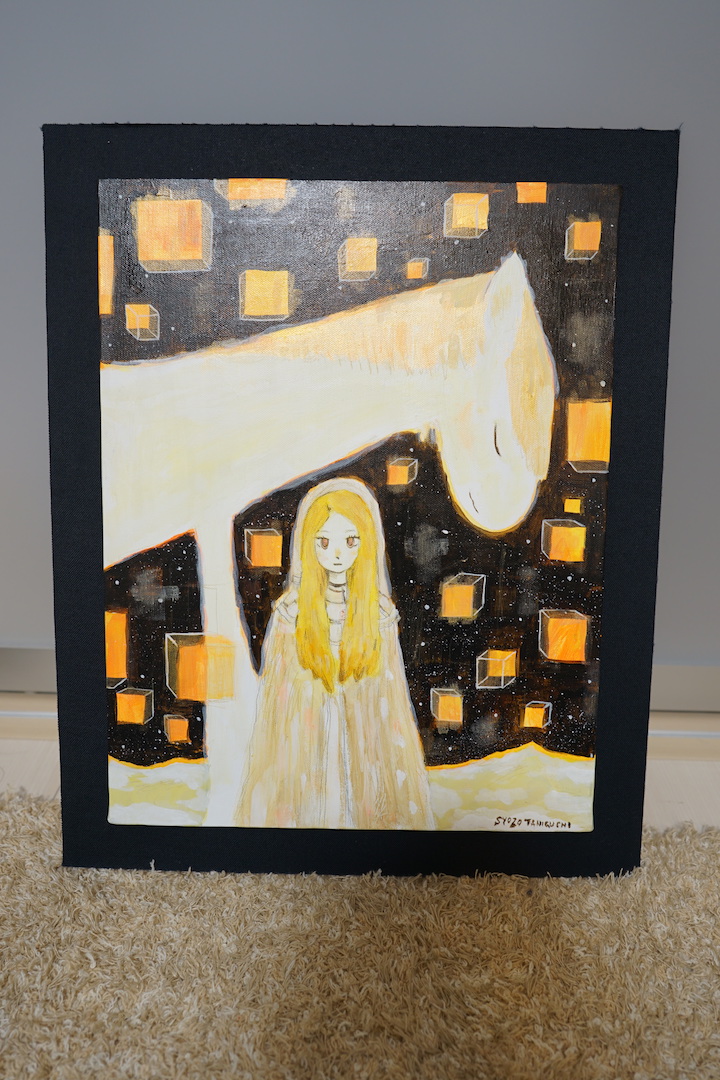
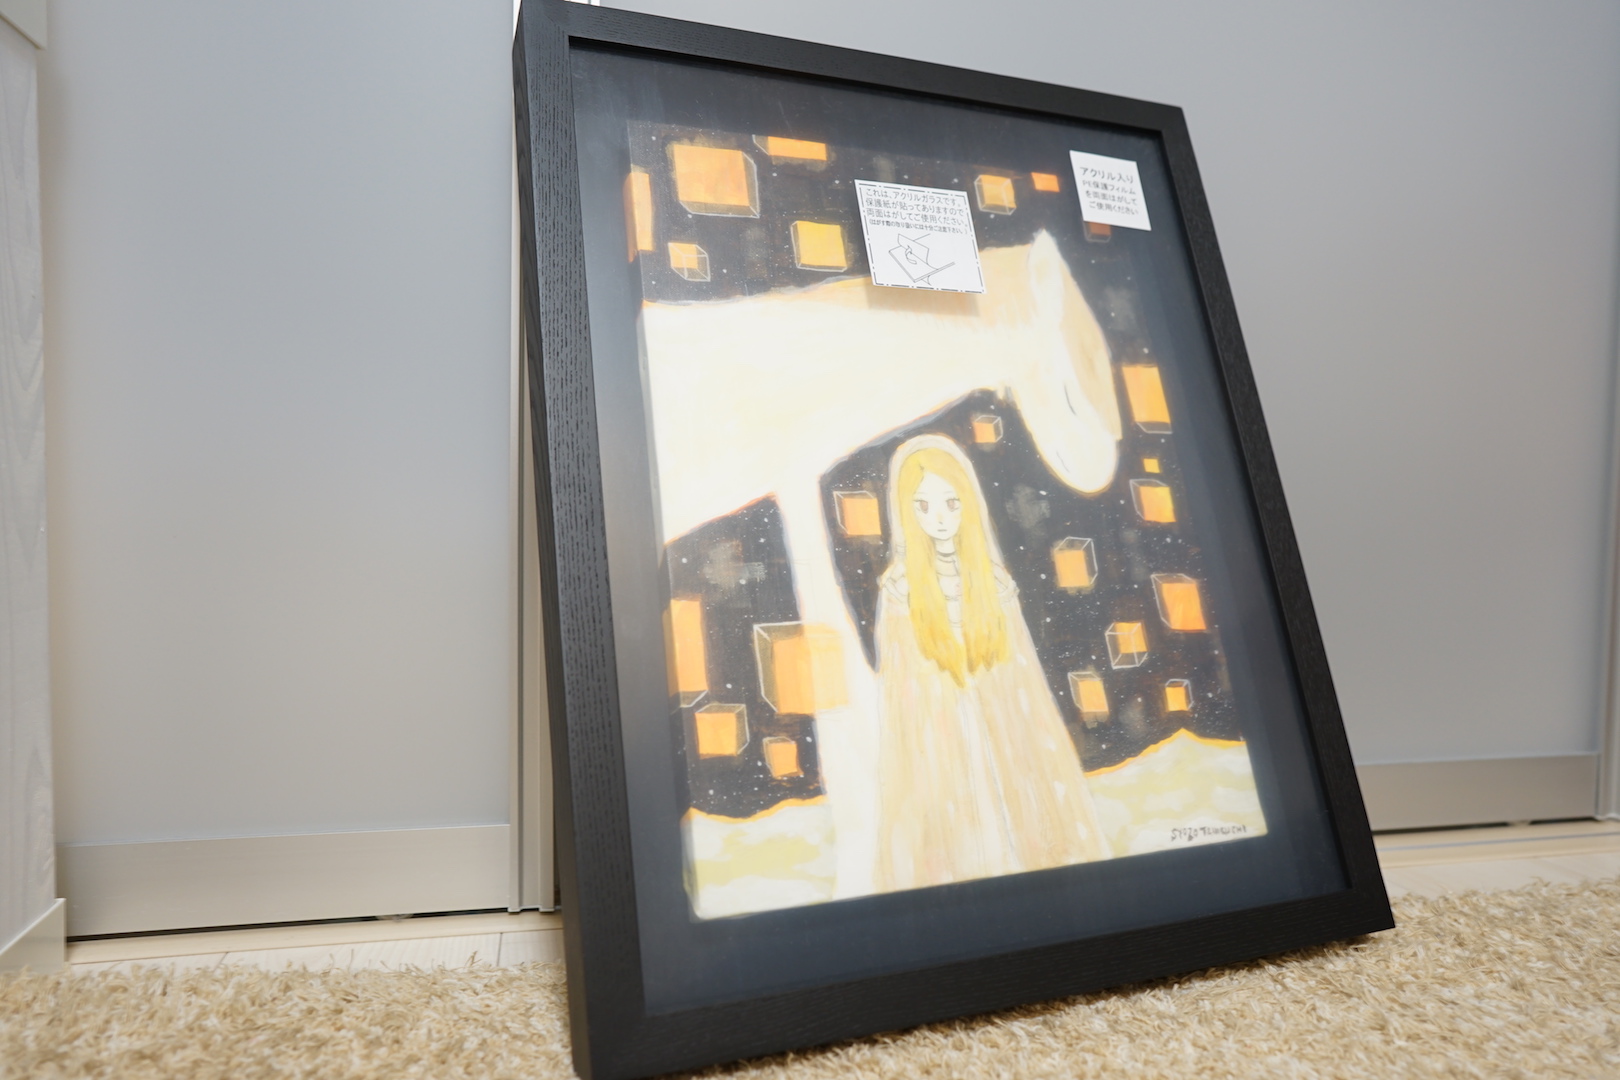
5) Placing It in the Frame
Once it’s firmly fixed to the board, it goes into the frame. Peel the protective film from both sides of the acrylic sheet, taking care not to let dust in. Return the acrylic to its place, set the work inside, close the back cover, and framing is complete.
6) Tying the Cord
Once it’s framed, tie the cord on the back. This video was a helpful reference for how to tie it.
https://youtu.be/Arypb0OjSTQ
Done!
It’s finished!
The framing went off without a hitch.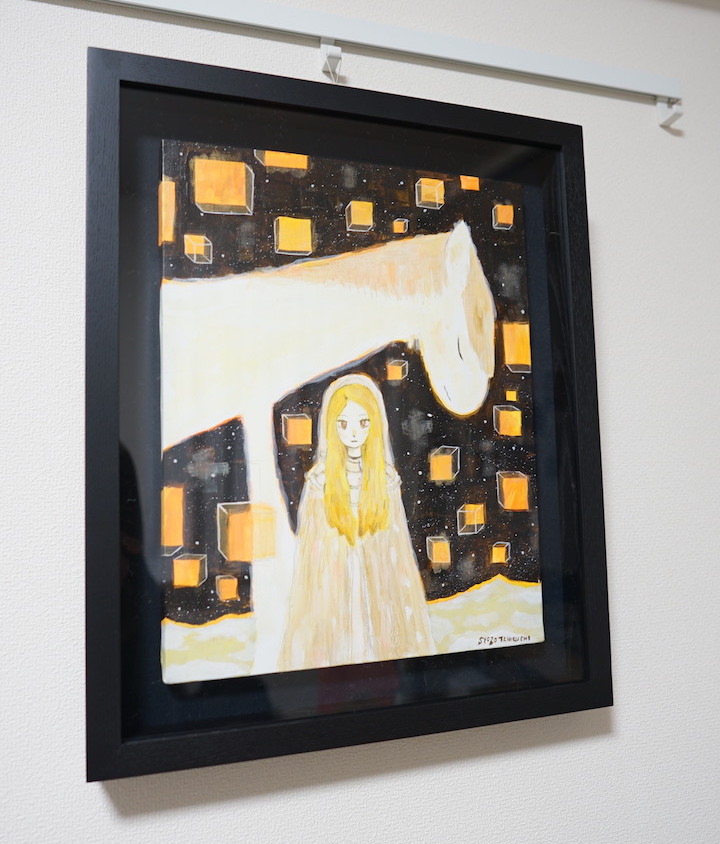 Once framed, you really feel the work come alive.
In Closing
Framing was something I’d always left to others, but doing it myself takes real effort — and yet the sense of accomplishment and satisfaction is considerable. Cost-wise it saves the fee you’d pay an art-supply shop, and I sourced the frame cheaply online as well.
More than anything, I got to savor the weight of framing, with my own hands, a work I had welcomed into my collection.
Do give it a try yourself!